Patio Season {small updates}

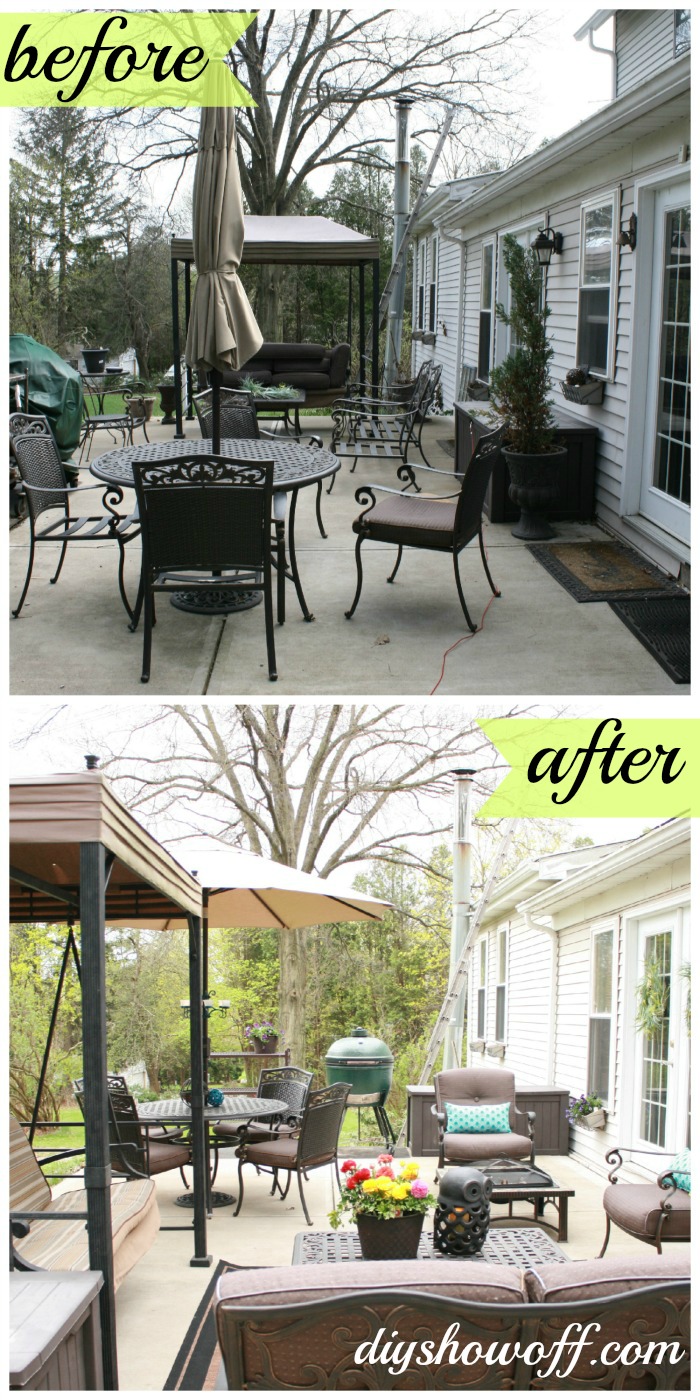
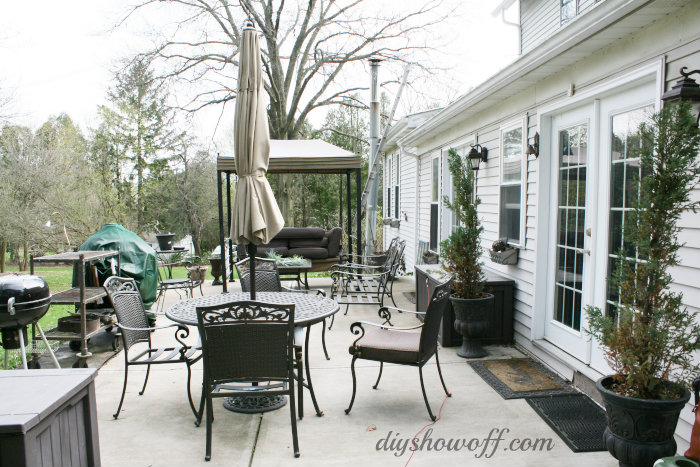
I love that the weather is warming up! We have a patio off of the back of the house which we utilize as an outdoor room in the spring, summer and fall. We spend a lot of time in this space, weather permitting. It’s not a pretty sight by the time winter ends. Blah! The Lowe’s Creative Ideas challenge this month is outdoor mini-makeovers. Perfect timing!

patio update

Trip down memory lane: When we purchased this house, we installed two sets of French doors. There were concrete sidewalks with ramps to the old ‘single’ doors. When we bought the house:

house-before

A few years ago, we installed a concrete patio

concrete-before-after

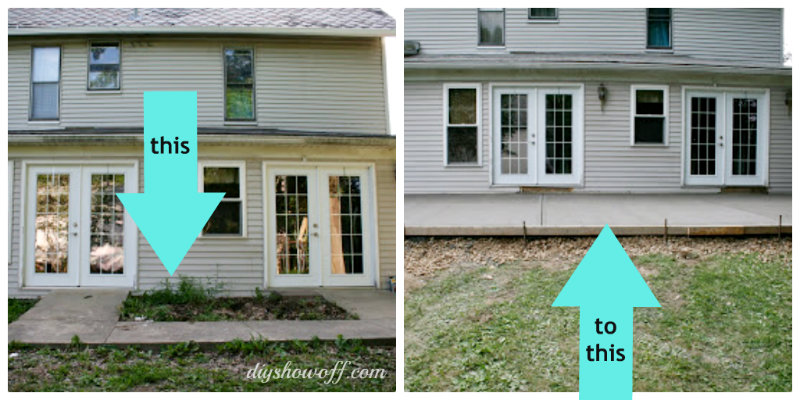
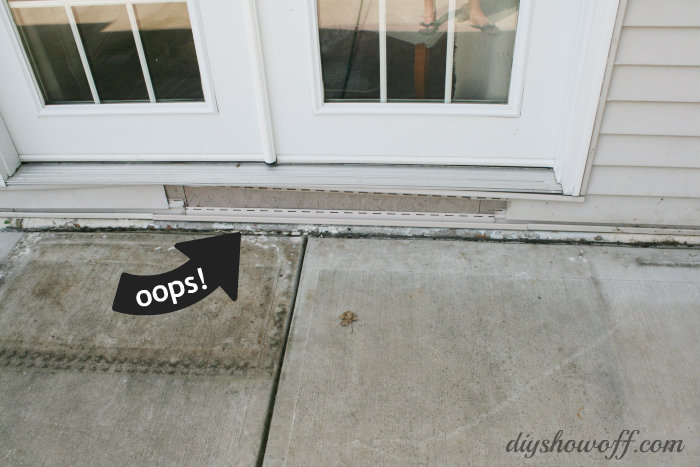
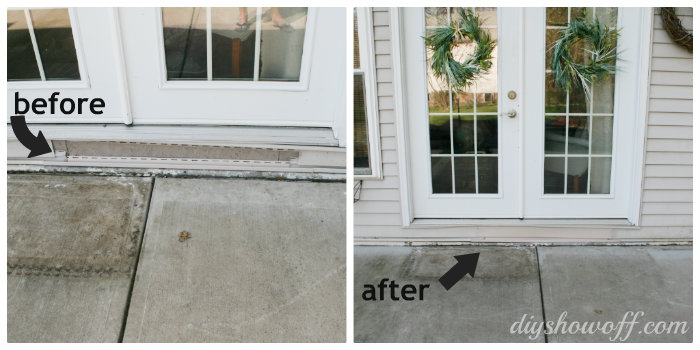
but we never replaced the siding where the old ramps were located. (I also address the dirty concrete. Keep reading!)

missing-siding

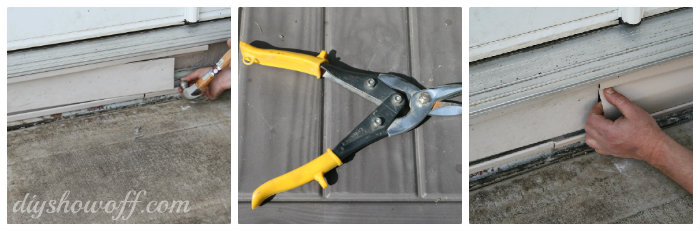
I headed to Lowe’s with iphone pictures and measurements. The Lowe’s associates were super helpful in directing me to the siding supplies, advising what I’d need: a “J-channel” to match up/attach the vinyl siding. They even provided tin snips and a tape measure so I could cut it to fit in my vehicle.

j-channel

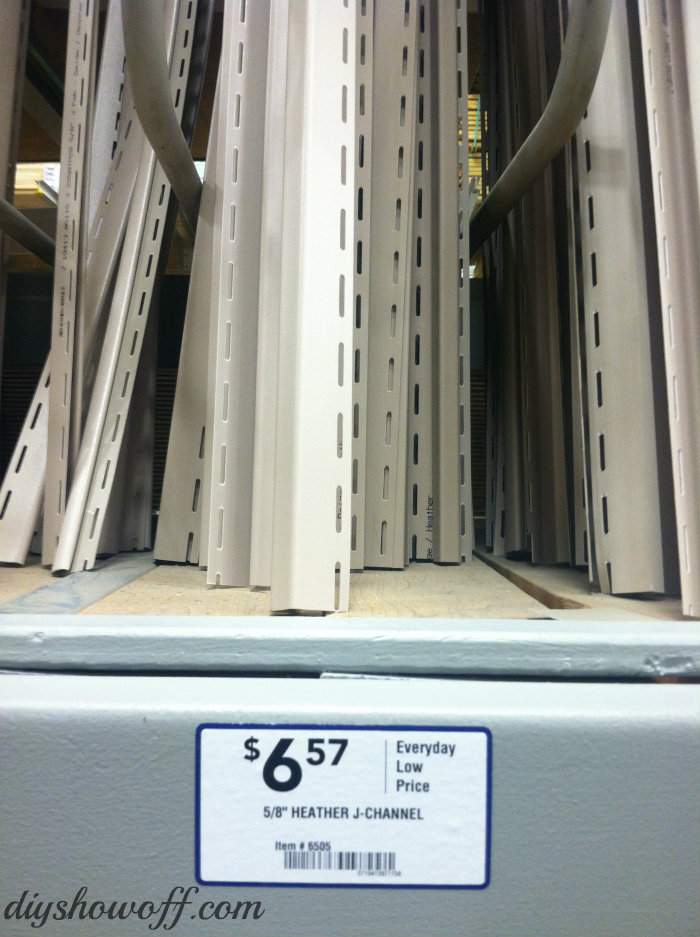
Installing the J-channels was easy, just nail into place. Then we just  a close-matching piece of vinyl siding (“heather”, also available at Lowe’s) and snapped it into place.

installing-vinyl-siding

Finally! No more embarrassing eye sore of missing siding…it’s those little things that really bother the home owner more than anyone else, ya know and one that is so surprisingly easy and cheap, I’m wondering why we put it off. Hopefully with some age, it will blend in even better.

before-after-siding-fix

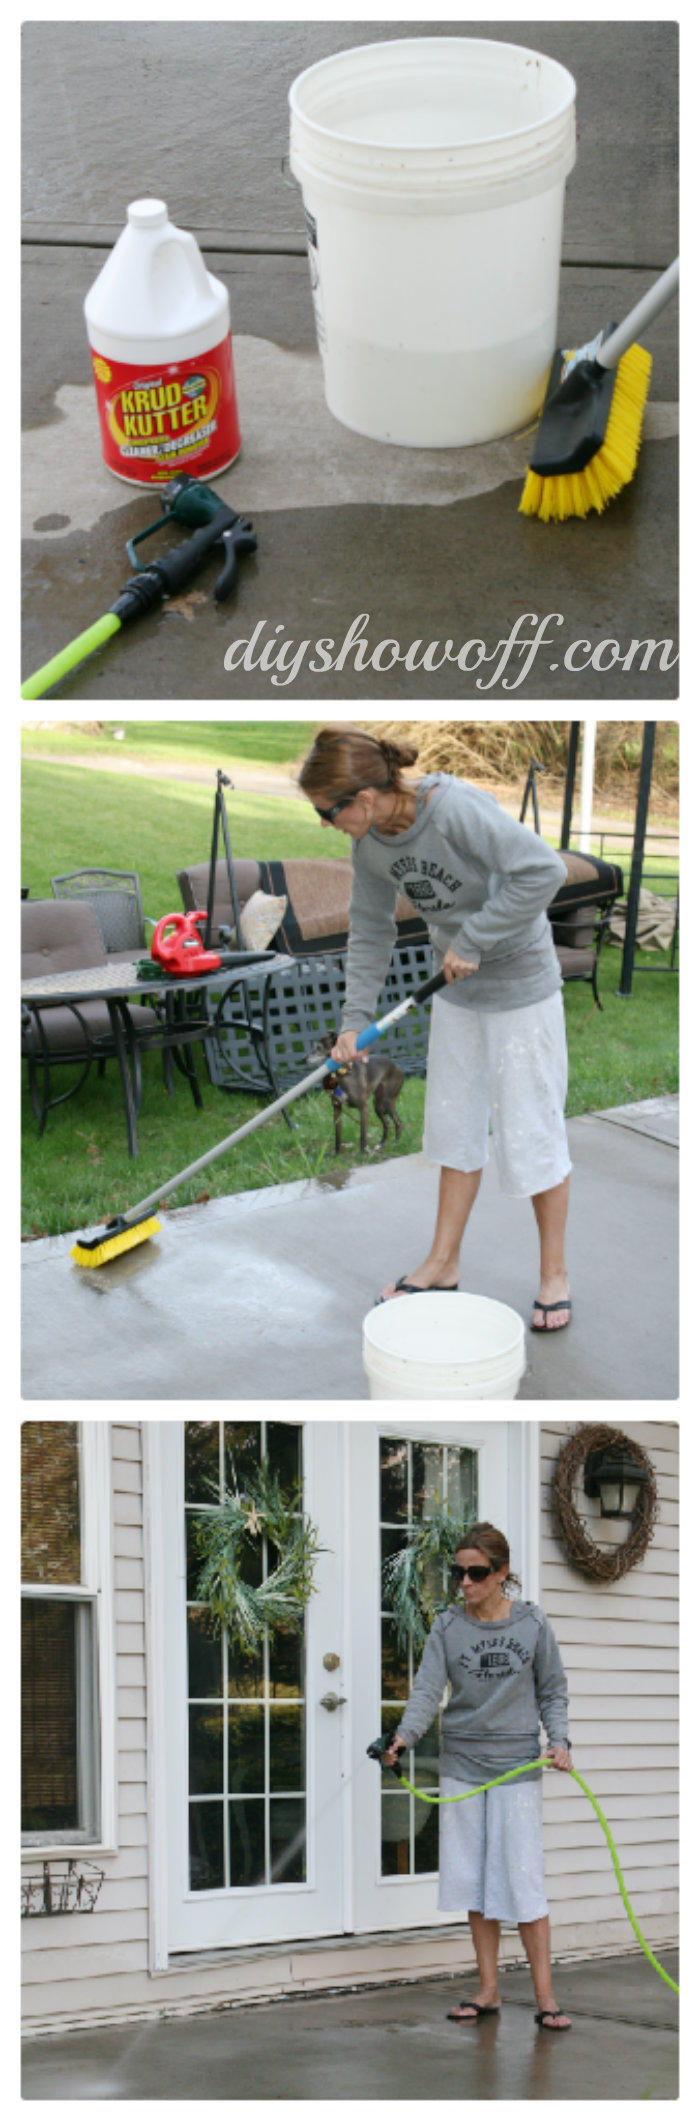
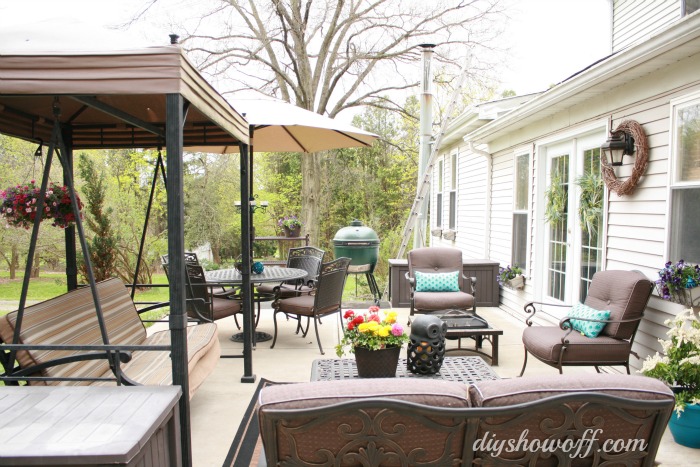
I moved all of the furniture and gave the concrete a good scrubbing (water + Krud Kutter). It cleaned off the surface dirt and mildew but not rust or grease. However, it looks a much brighter!

scrubbing-patio

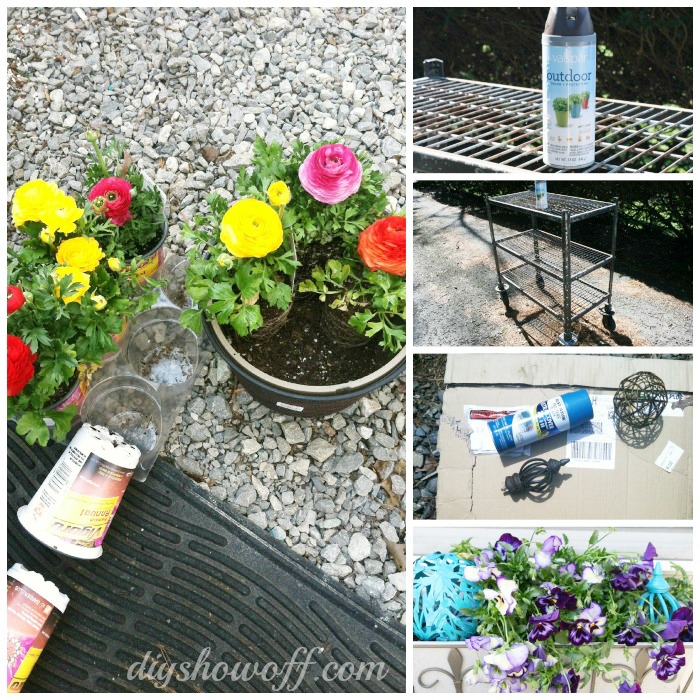
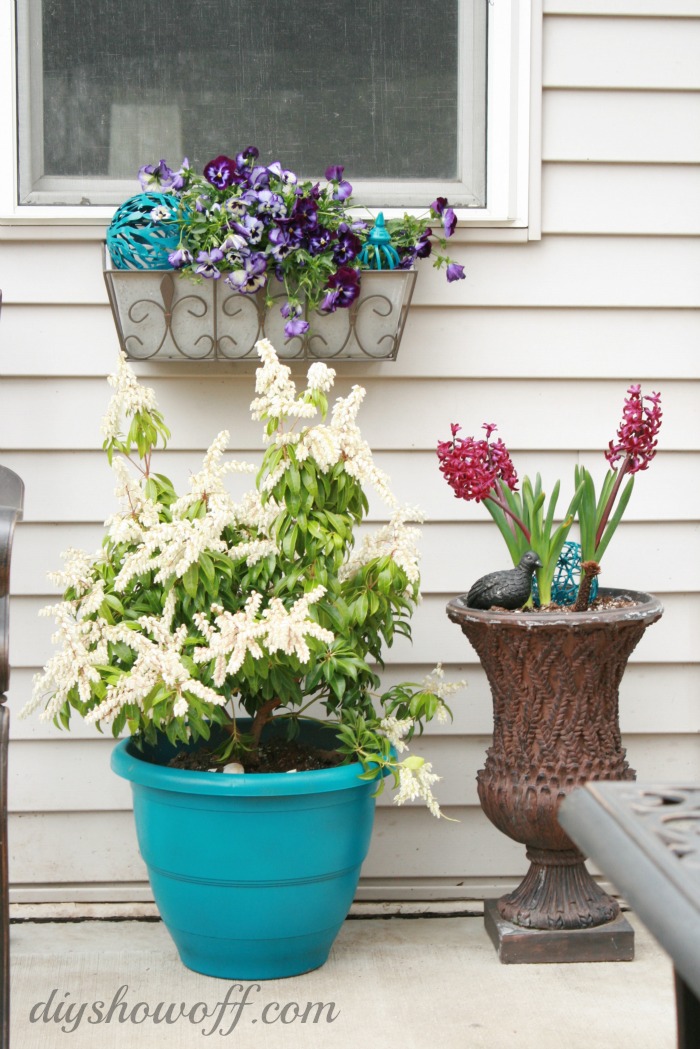
I used spray paint to freshen up some existing decorative accents, planters and a ‘grill cart’ and added some colorful flowers to planters and window boxes.

patio-accessory-update

Some new things available at Lowe’s:

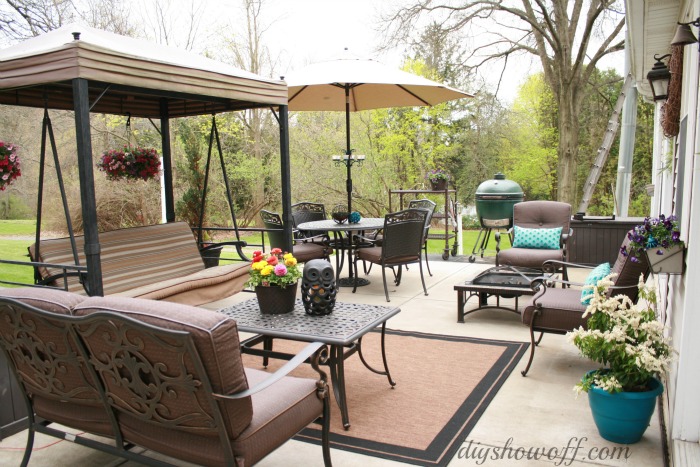
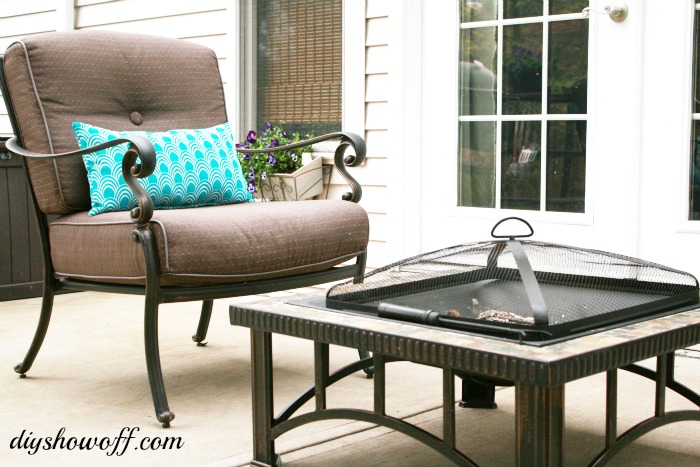
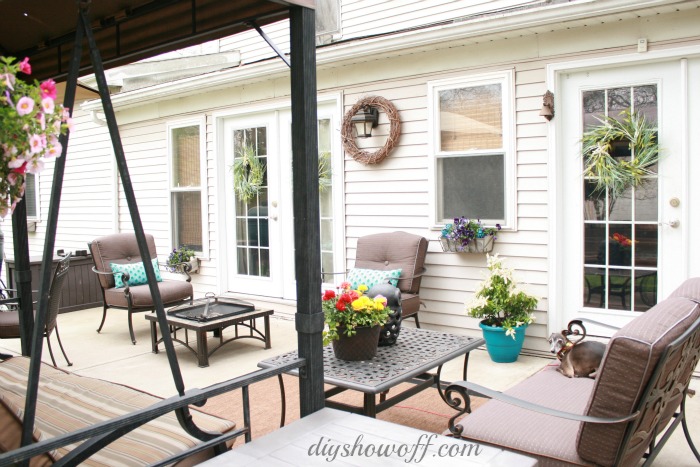
Outdoor area rug defines the cozy seating area…

patio-makeover

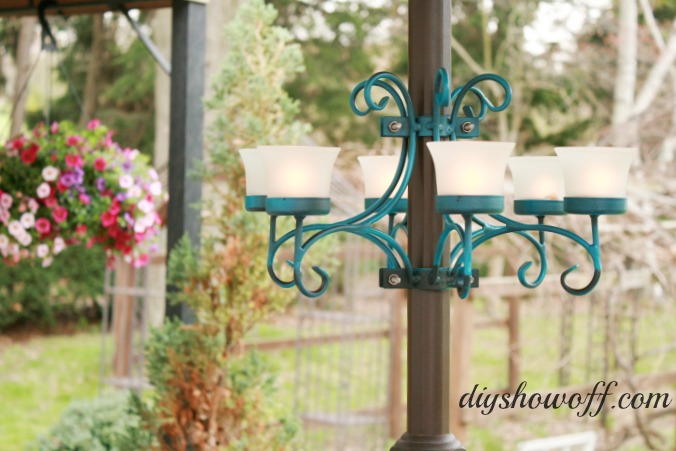
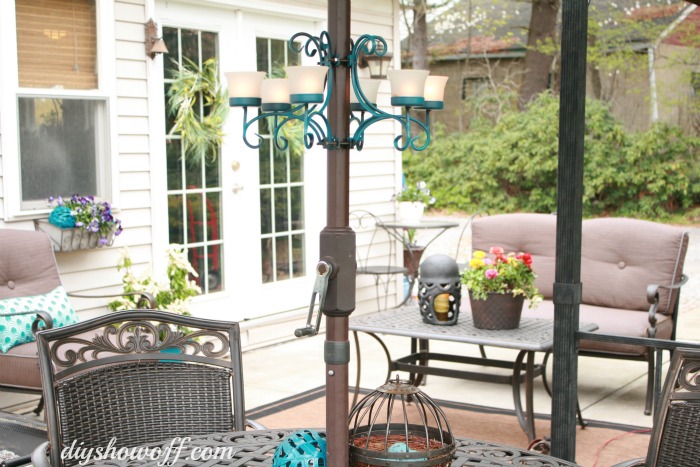
Love this umbrella candelabra (misted with Rustoleum’s “Lagoon” spray paint to match other accents) and beautiful fat hanging flower baskets…

umbrella-candle-holder

The sun sets on the other side of the house. Sometimes evenings are chilly. This wood burning firepit is perfect for a little heat (and roasting marshmallows)…

firepit


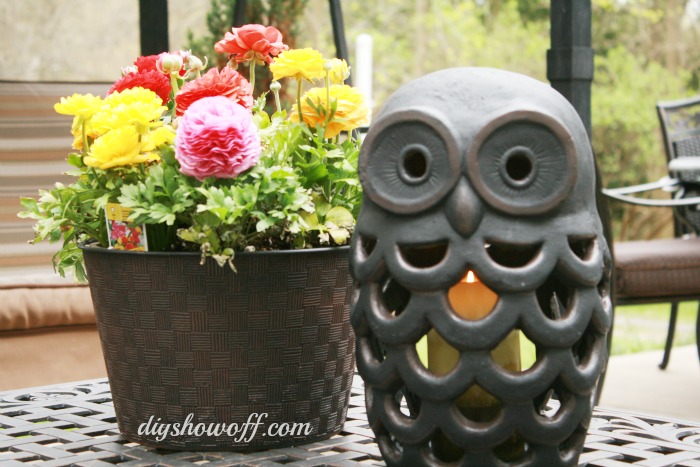
Cutest decorative owl candle holder…

owl-candle-holder

When it’s warm and not raining, I start my day with a cup of tea here. When we entertain small groups and it’s warm, this is the party location…lots of family dinners/cookouts and since it’s right off the kitchen, hosting and clean up are super convenient. It’s also where we enter the house. Now it’s visitor-worthy, pretty and relaxing. C’mon over!
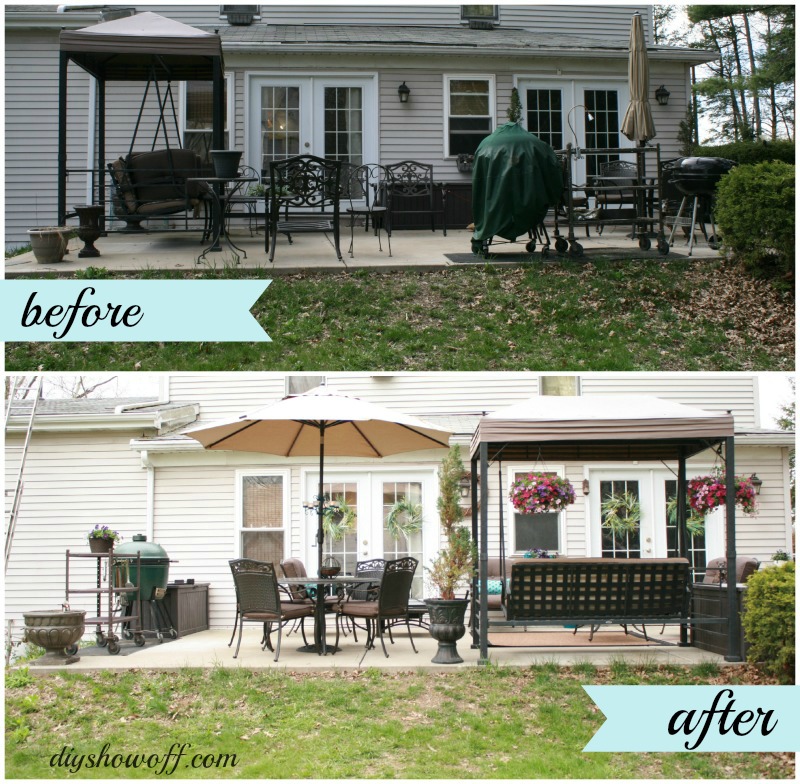
patio-before-after


BEFORE

patio-before

AFTER

patio-makeover

More pics…

patio-flowers

cocorosie


patio-makeover

patio-makeover

Next up for this space:

  • rearranging some of the furniture another time or two
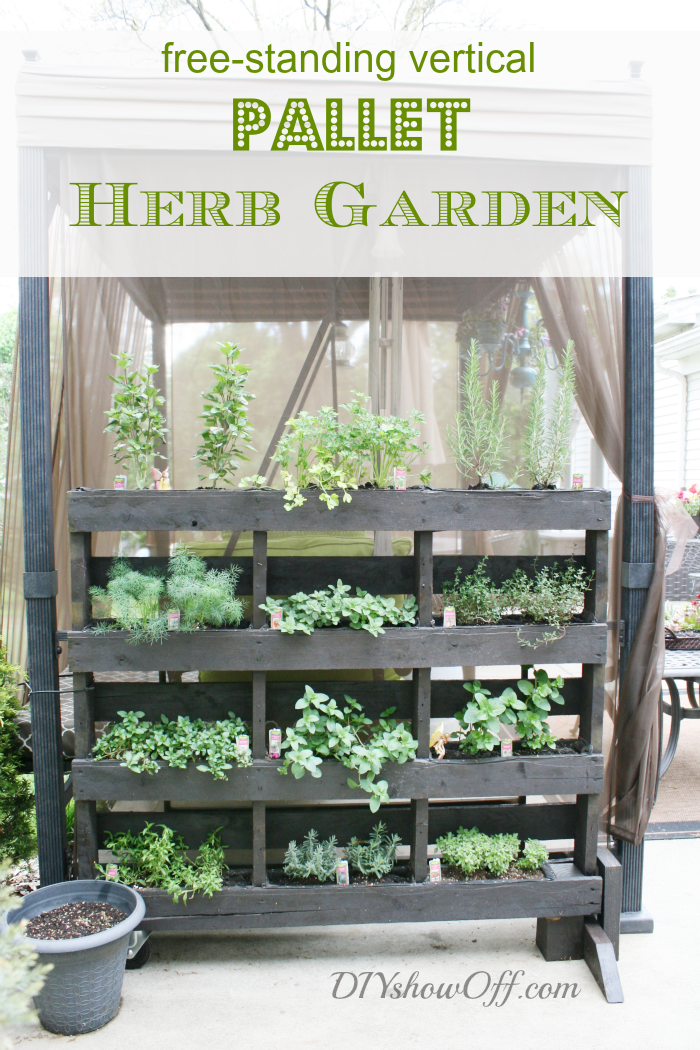
  • pallet herb garden
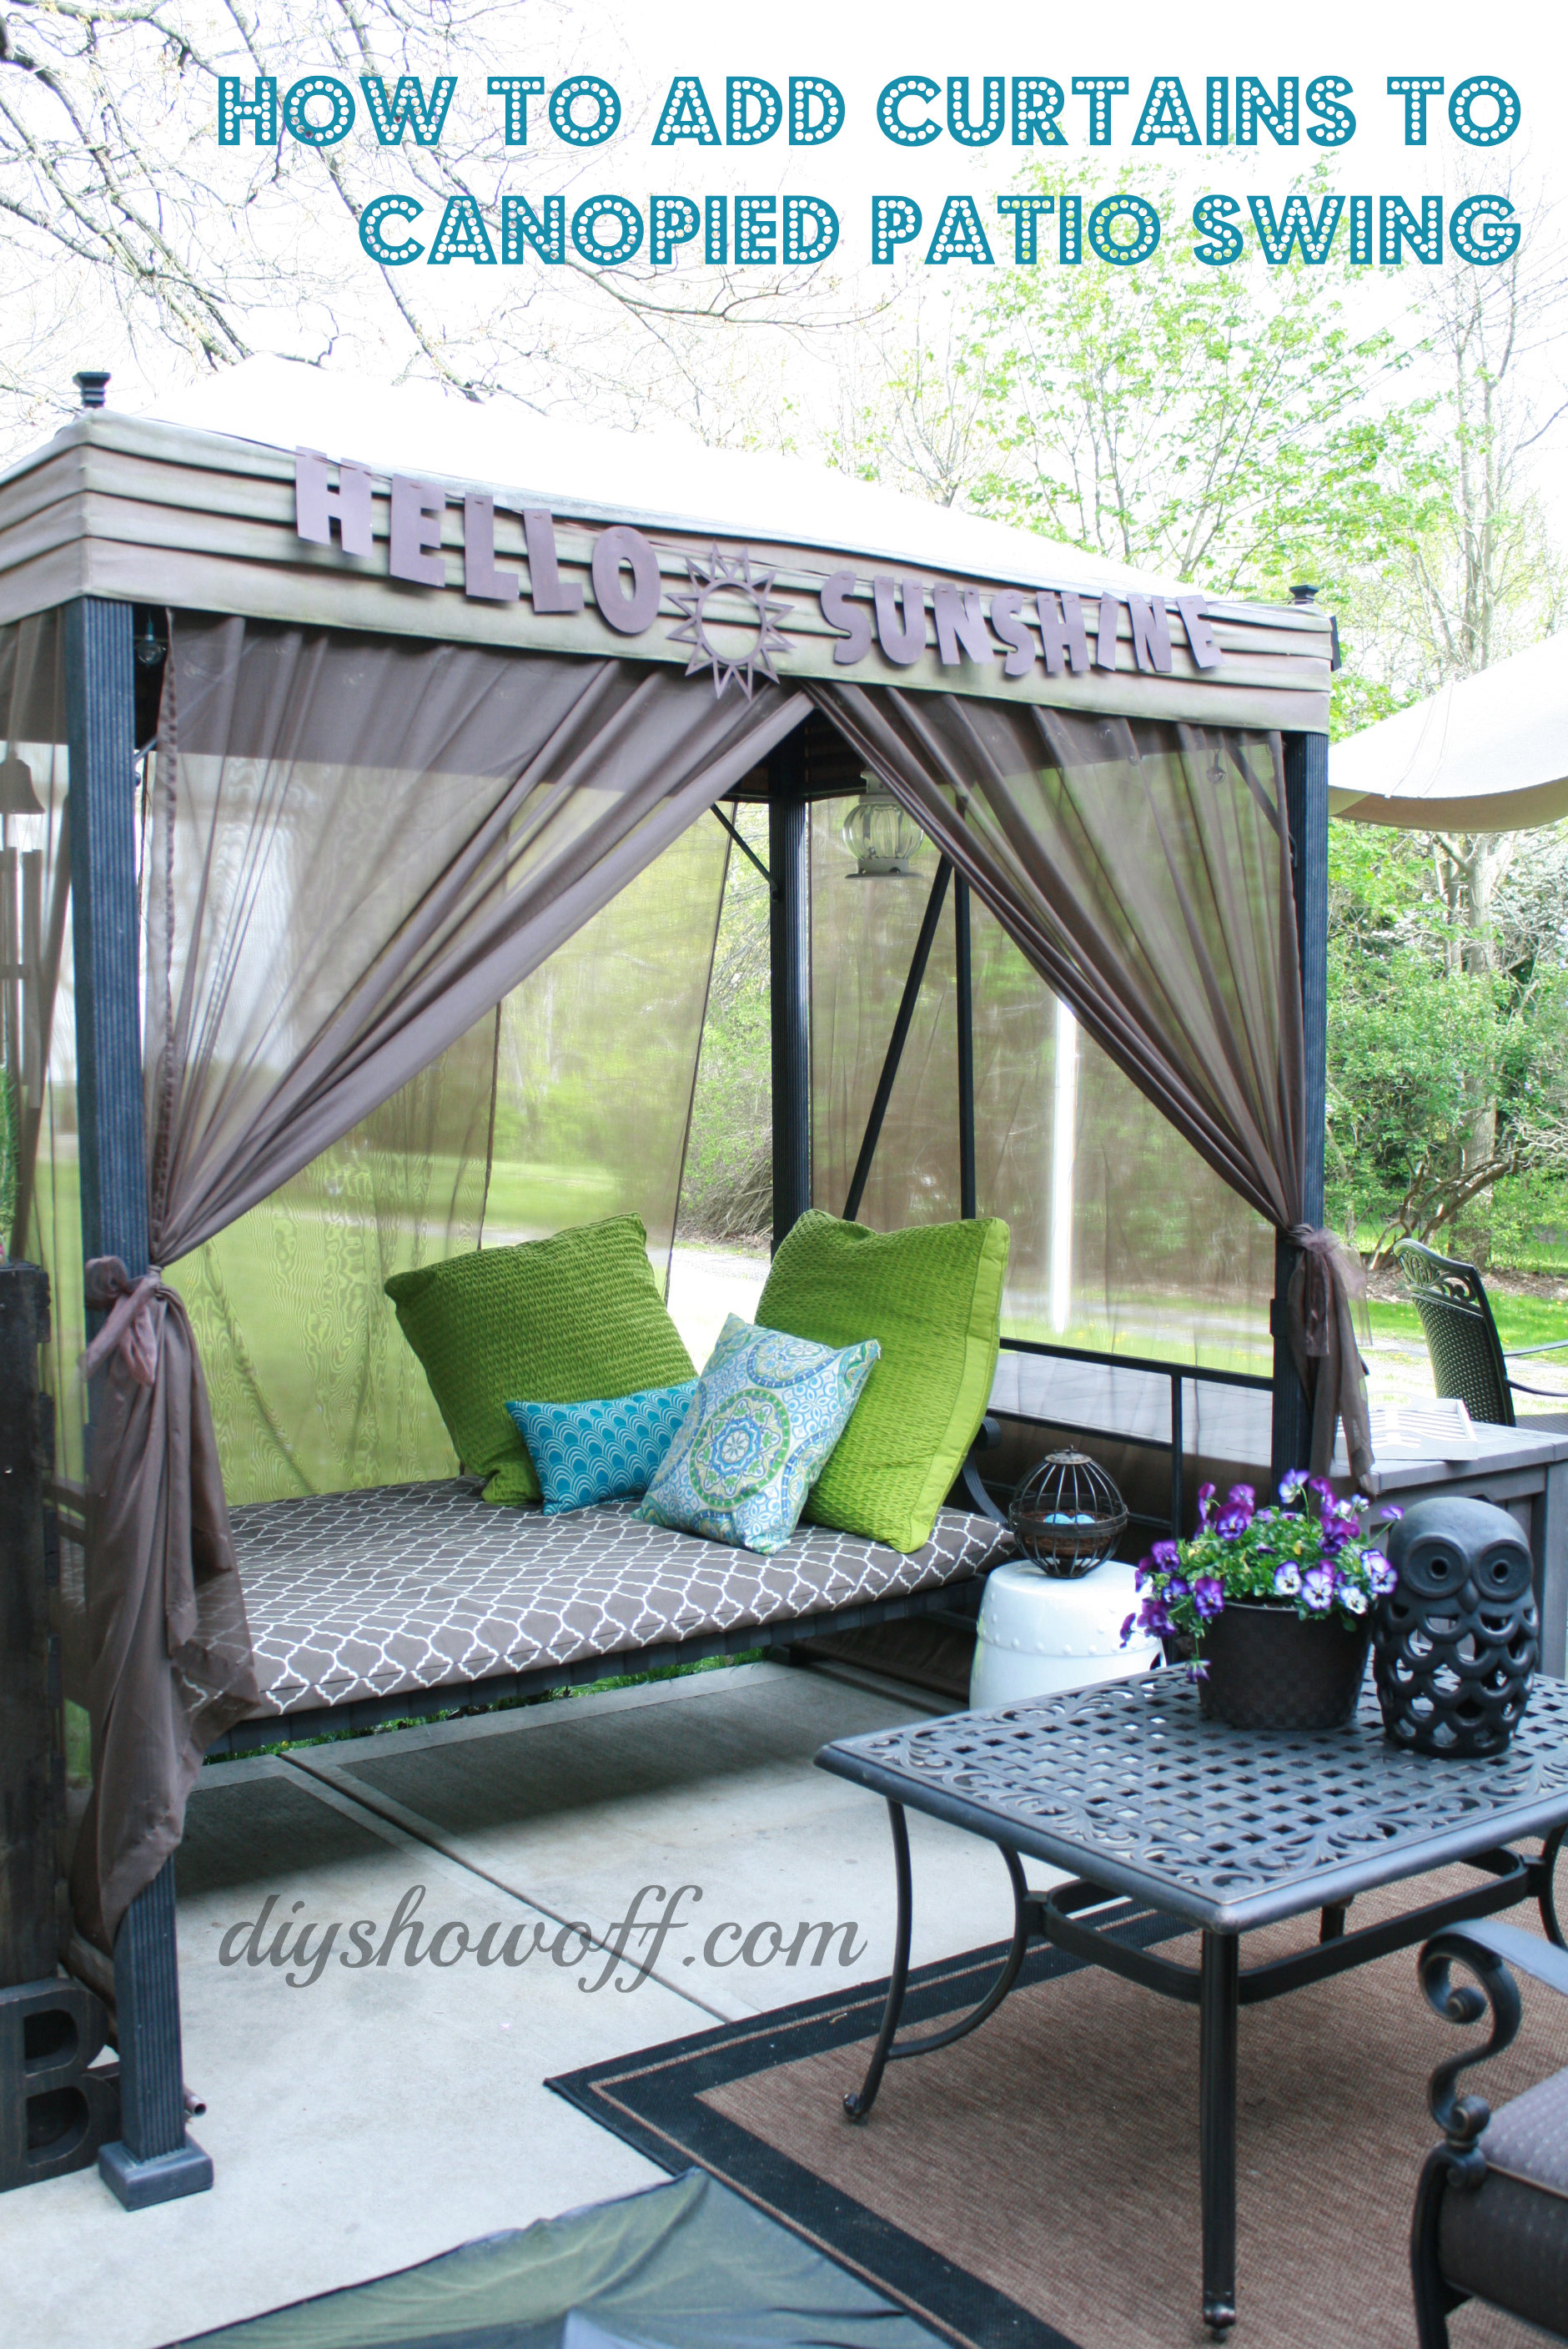
  • canopied swing bling
  • patio pet bed
  • raised flower bed
  • grape arbor/gazebo path/patio is on the DIY list again (maybe this year?!)

Free Standing Pallet Herb Garden:

free-standing-vertical-pallet-herb-garden

Patio Swing Makeover:

how to add curtains to a patio swing


Sharing at Project Inspired.

See more fun DIY ideas at Lowe’s Creative Ideas, follow Lowe’s on Instagram, Pinterest and sign up for the Creative Ideas magazine and app!

Spring 13 Blogger Badge Subscribe Banner Version

*Disclaimer: As a member of the Lowe’s Creative Ideas Creators and Influencers network, I received a Lowe’s gift card to complete this project for a mini outdoor makeover challenge, however the tutorial images, instructions and opinions are my own. 

THAT DIY PARTY

It’s that time of the week, time for THAT DIY PARTY! With the weather finally cooperating, I’ve been working on about 4 projects all at the same time. Exhausting. Sore-muscles kind of days. But enjoying every minute!  I’ll be sharing a patio mini-makeover this week and some other fun DIY projects.

That DIY Party

If you missed it last week, I shared my globe light fixture cover

DIY-globe-light-fixture-cover-tutorial

And sorry that I haven’t had time to write up DIY highlights for the party. But I’ve been pinning!

thatdiyparty.pinboard

I’ll share the DIY party highlights in a separate post this week.

Now let’s see YOUR DIY! Time to “show off”…

DIY Show Off
<div align="center"><a href="https://diyshowoff.com/category/other/that-diy-party/" title="DIY Show Off"><img src="http://i899.photobucket.com/albums/ac195/Roeshel/thatdiyparty125button_zps360f71b1.jpg" alt="DIY Show Off" style="border:none;" /></a></div>

1. Please use the button above or text and link to this post to share the linky love. Here is the link: https://diyshowoff.com/category/other/that-diy-party/. I’m not one to double check and will feature your DIY project if I love it whether you linked back or not. However, I’d love for you to share a link, share on FB or by tweet or pin too! Invite your friends!

2. This blog linky party is for DIY projects only. Links not related to DIY will be deleted. Please share your link one week only.  Please do not link recipes, giveaways, linky parties, promotions or a collection of inspiration that isn’t your own DIY project. 

3. By joining the party, you give permission for your project to be featured and ‘shown off’ via blog highlight, Twitter, Facebook, Pinterest, G+, etc.

THAT DIY PARTY:


DIY {half} globe light fixture cover

DIY Globe Light Fixture Cover

After I completed the wall mounted-pallet shelf, I updated some of the light fixtures including the one in the sitting room…

allen-roth-edison-orb

Allen + Roth Edison Oil Rubbed Bronze

However, the glass on this specific light is very thin and it cracked during the final stages of assembly, just by screwing in the light bulb. The crack was located in such a way that it wasn’t safe. I feared the entire glass piece was going to come crashing down.

cracked-glass

So, one rainy day, I gathered some supplies from around the house and created a new cover? fixture? globe? well, northern hemisphere at least.

DIY-globe-light-fixture-cover-tutorial

Here is what I did:

Materials: 

  • LOW WATTAGE light bulb
  • old globe (I have an addiction. I can’t pass up a globe at the thrift store, thus a collection on hand.)
  • craft paint (I had DecoArt’s Patio Paint/rich espresso on hand.) A high heat/temperature paint is a better, safer option.
  • double fold bias tape (Again…I had brown left over from a patio cushion project.)
  • hot glue
  • Sharpie
  • Edited to add: Flameproof coating

Tools:

  • Utility knife
  • Needle-nose pliers
  • Scissors
  • Glue gun
  • Craft paint brush

I started by disassembling the globe by gently pulling the frame from the north/south pole. My globe popped right out.

globe

I also chose a globe that wasn’t in the best shape, so the north and south hemispheres just pulled apart. (Cut seam along the equator with a utility knife if needed.)

split-globe

Next, using a Sharpie, I traced the fitting (or draw a circle the size of where the globe will be held into place on the light fixture).

globe-light-tutorial

I used a utility knife to remove some of the map/cardboard and discovered a metal circle underneath. I was able to remove it with pliers. Then cut away the rest of the cardboard/paper with a pair of scissors.

globe-light-cover

I painted the inside of my globe and let it dry (well, sort of. I may have been too eager to move on to the next step)…

paint-inside-globe

Then attached the bias tape around the perimeter with hot glue.

gluing-bias-tape

Since I was impatient with waiting for paint to dry and had a little “oopsy”…paint on the bias tape, I used a Sharpie to create a design to distract from the accidental smudge. Imperfection adds character.

globe-light-border

Ready to install.

globe-ceiling-light-cover

Heading to the basement: This is also the path to the basement and I can breathe a sigh of relief that the cracked glass isn’t going to hurt someone when it comes crashing down or that it’s no big deal if my 6’2″ husband carrying a ladder accidentally hits the globe. I kept worrying he’d ‘ding’ that thin glass on his way through…now, it’s okay.

sitting-room-ceiling

It fits with the style of our sitting room too…

sitting-room

Easy enough.  (Would also work as a lamp shade…decorative only.}

half-globe-light-cover

 Mystikit: Purchase the materials and tools needed to make this half globe light fixture cover.

sitting-room-diy

*more DIY projects in this space:

 *This light shade is mainly decorative. In our home, it is rarely turned on for more than a few minutes at a time. Please do your homework and consider safety in your own home before using a globe as a light fixture. 

Sharing here:

Home Stories A to Z Tips & Tutorials party

So You think You’re Crafty

Weekend Bloggy Reading