


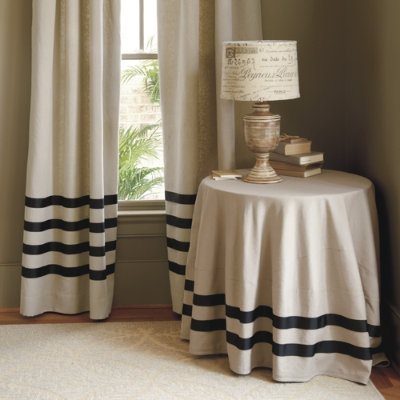
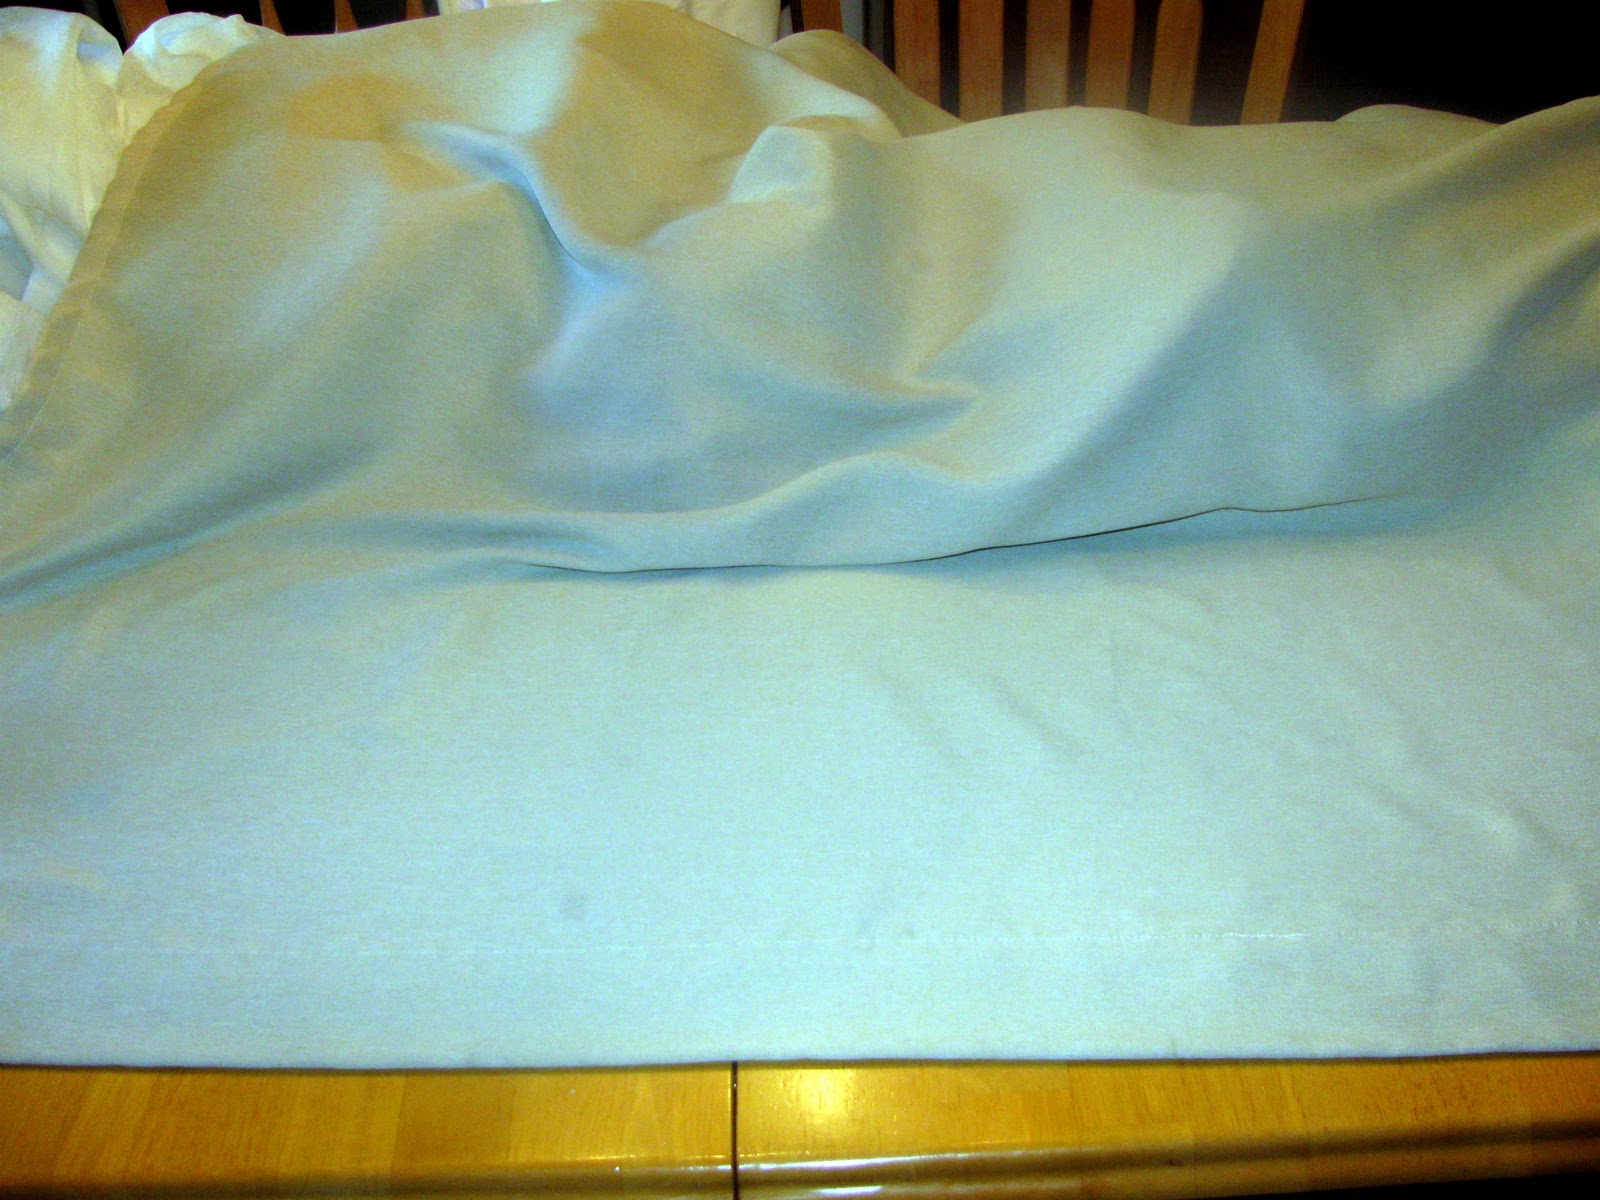
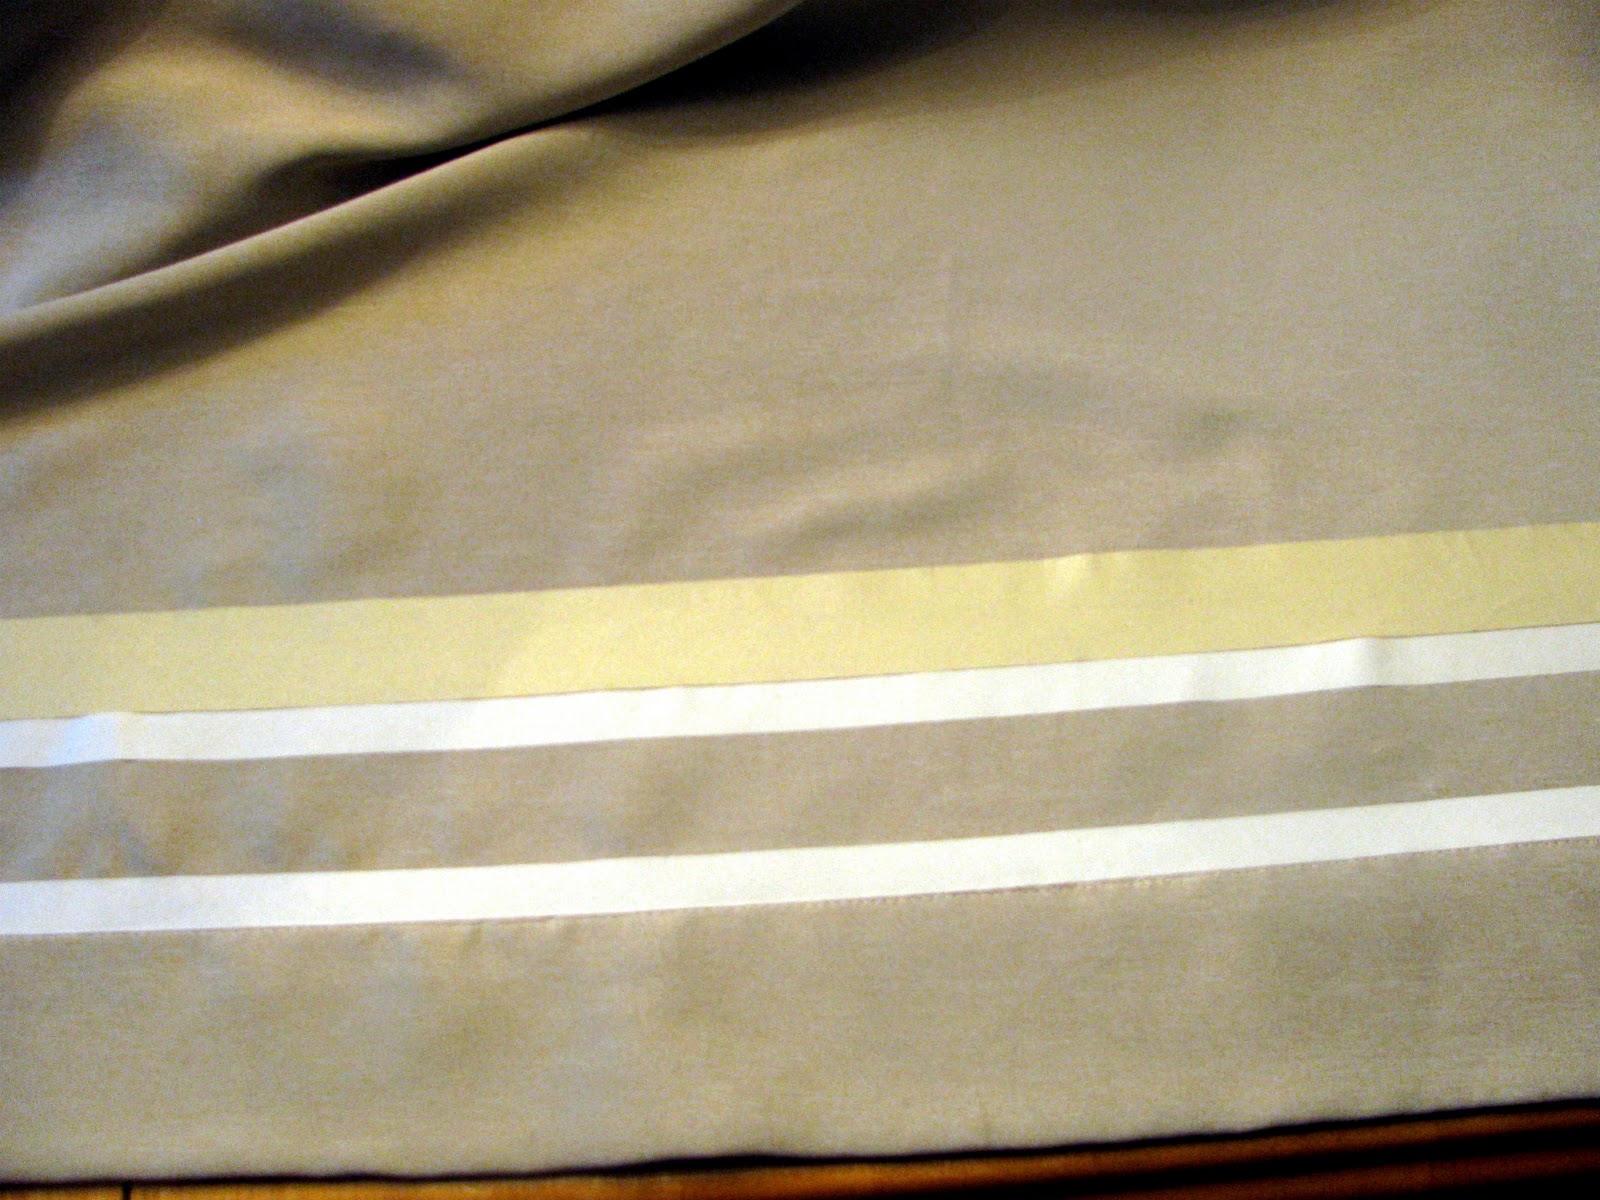
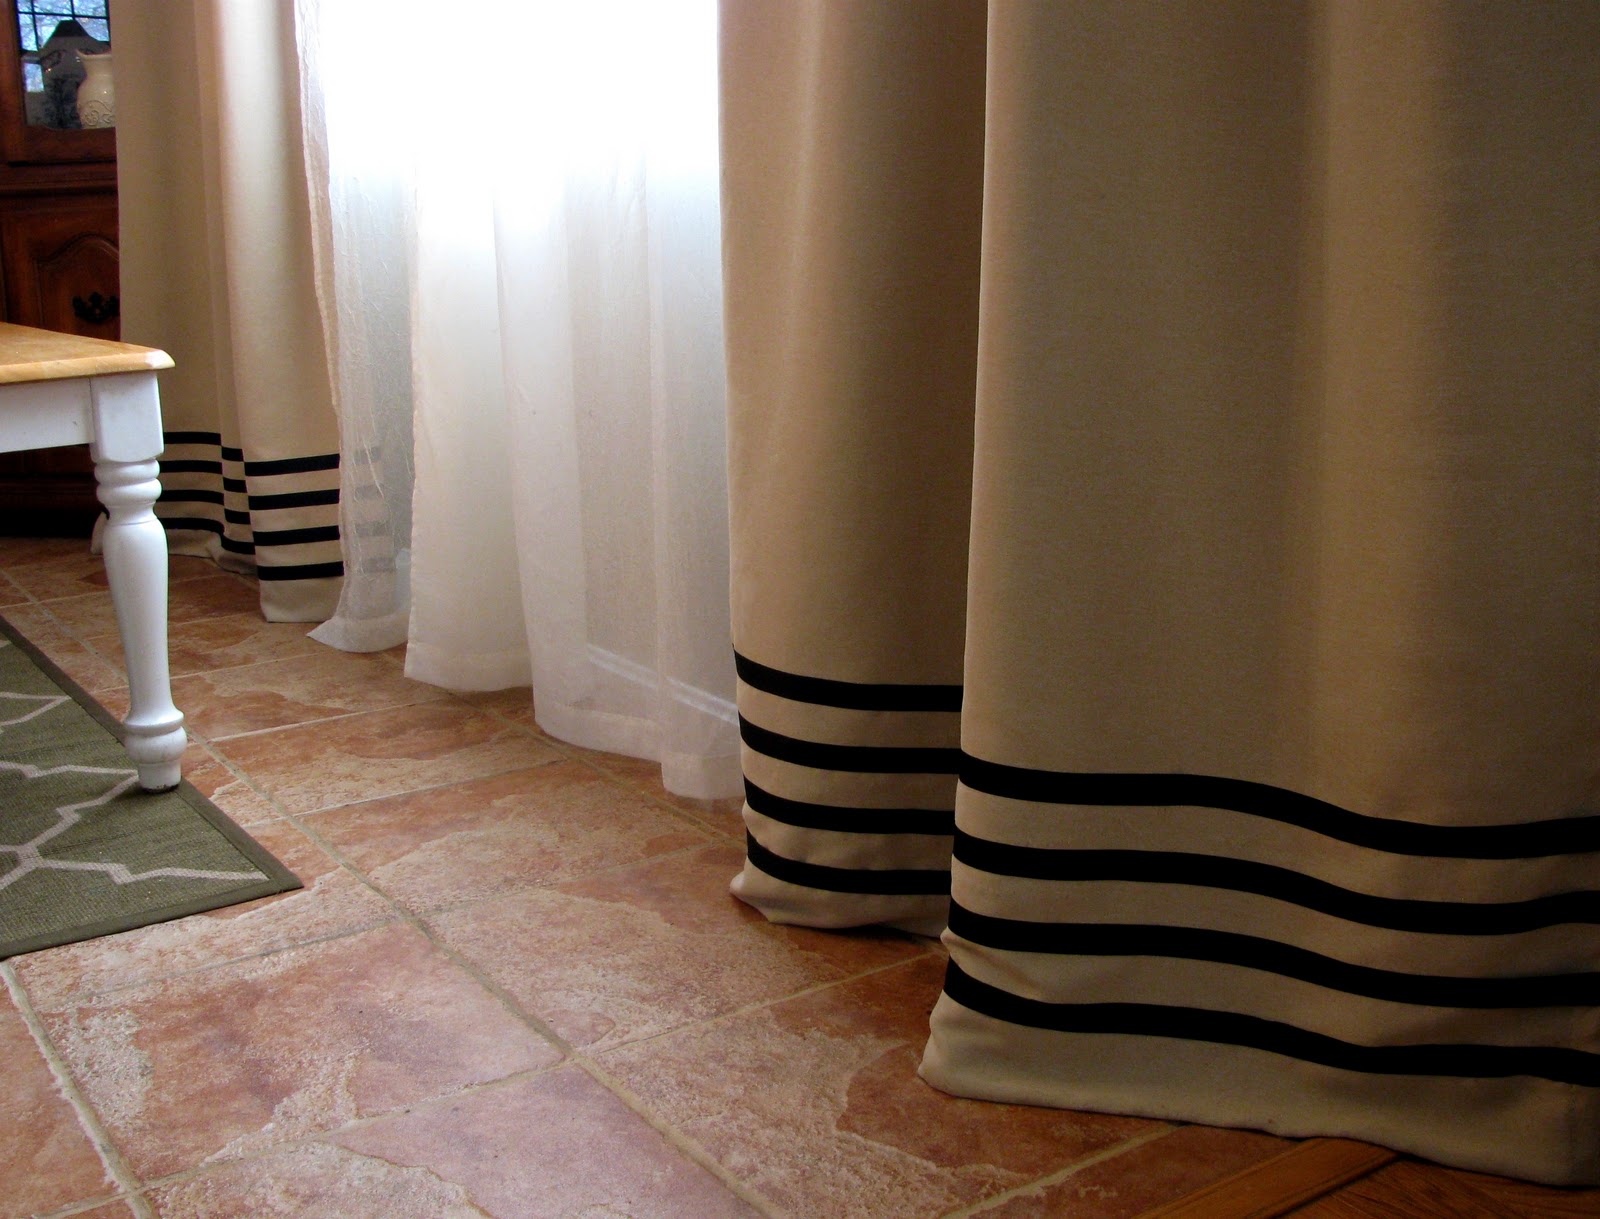
Ballard’s bottom stripe is placed high, but Jeannie chose her placement for a very important reason. She placed no-sew tape right above the hem line on the bottom of the curtain (if you look real close you can see the thread line) and ironed it down.
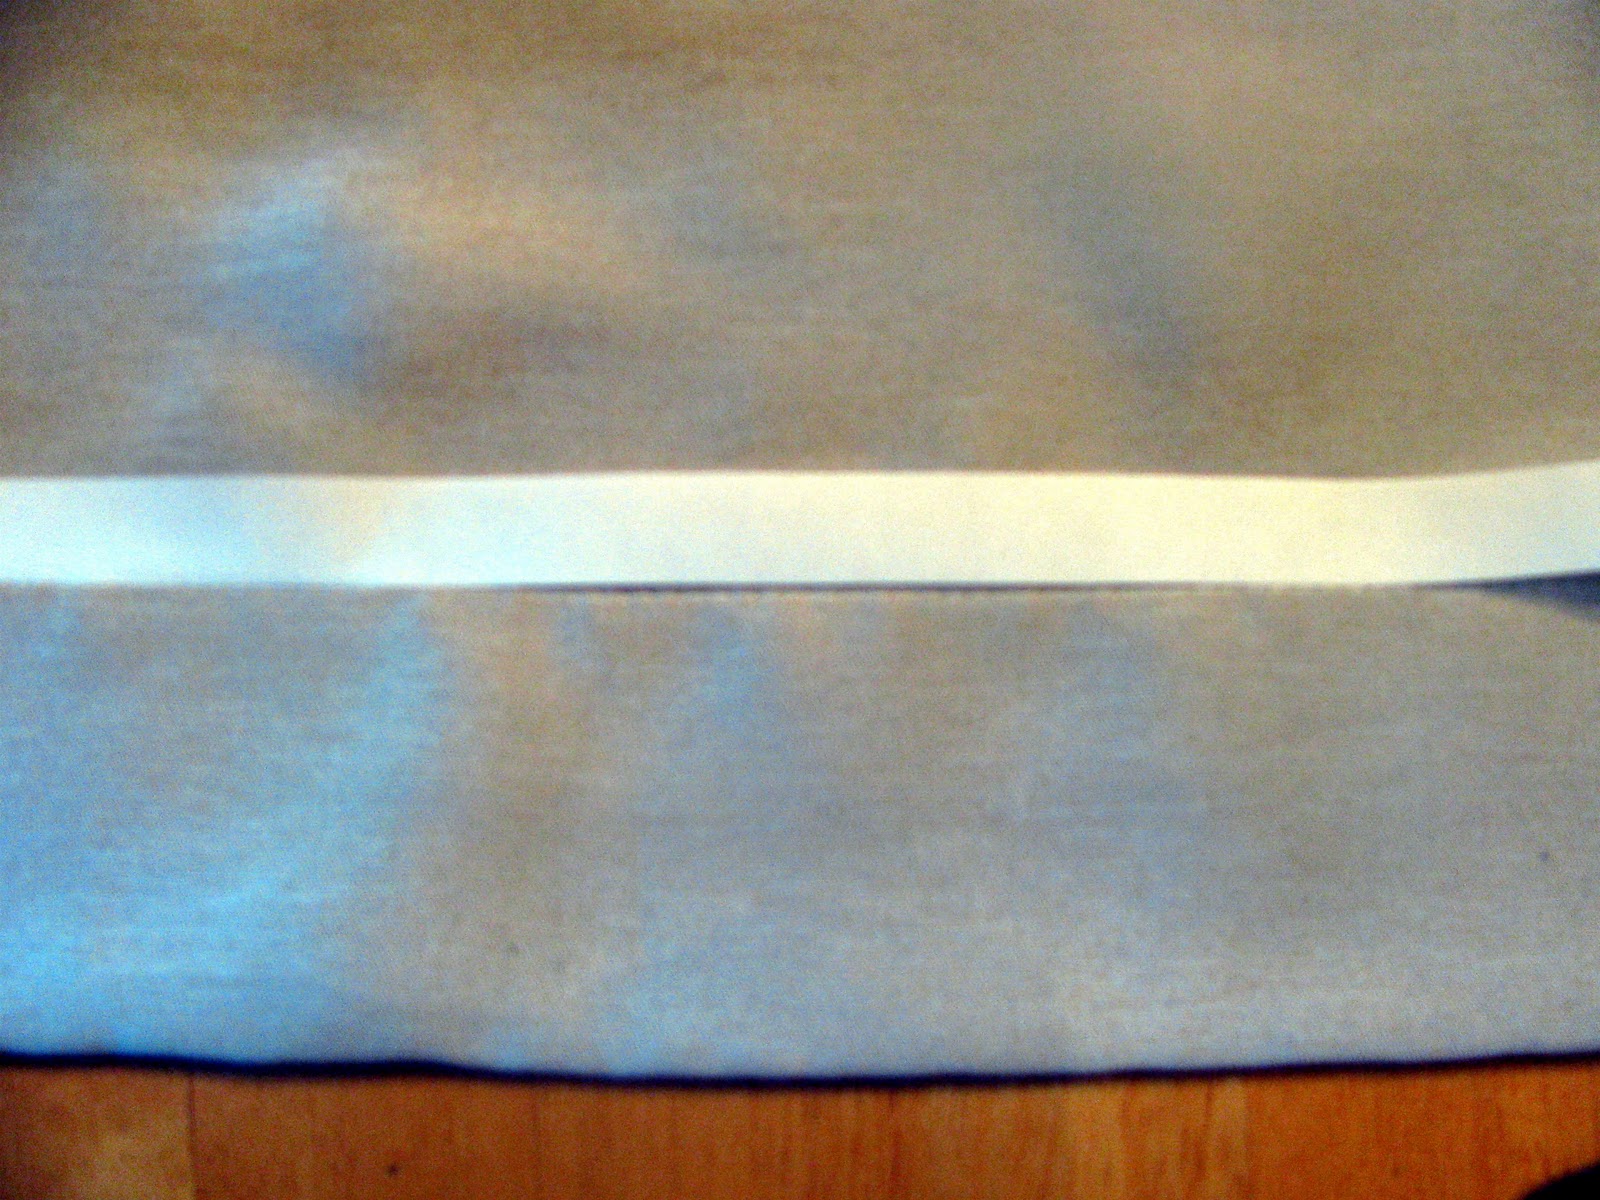
Next, take masking tape (frog tape would also work) and tape right above the no-sew tape. Tip: Leave a 2″ overhang of tape on each side so the panel is essentially taped to the table. This will make working much easier because it won’t be shifting.
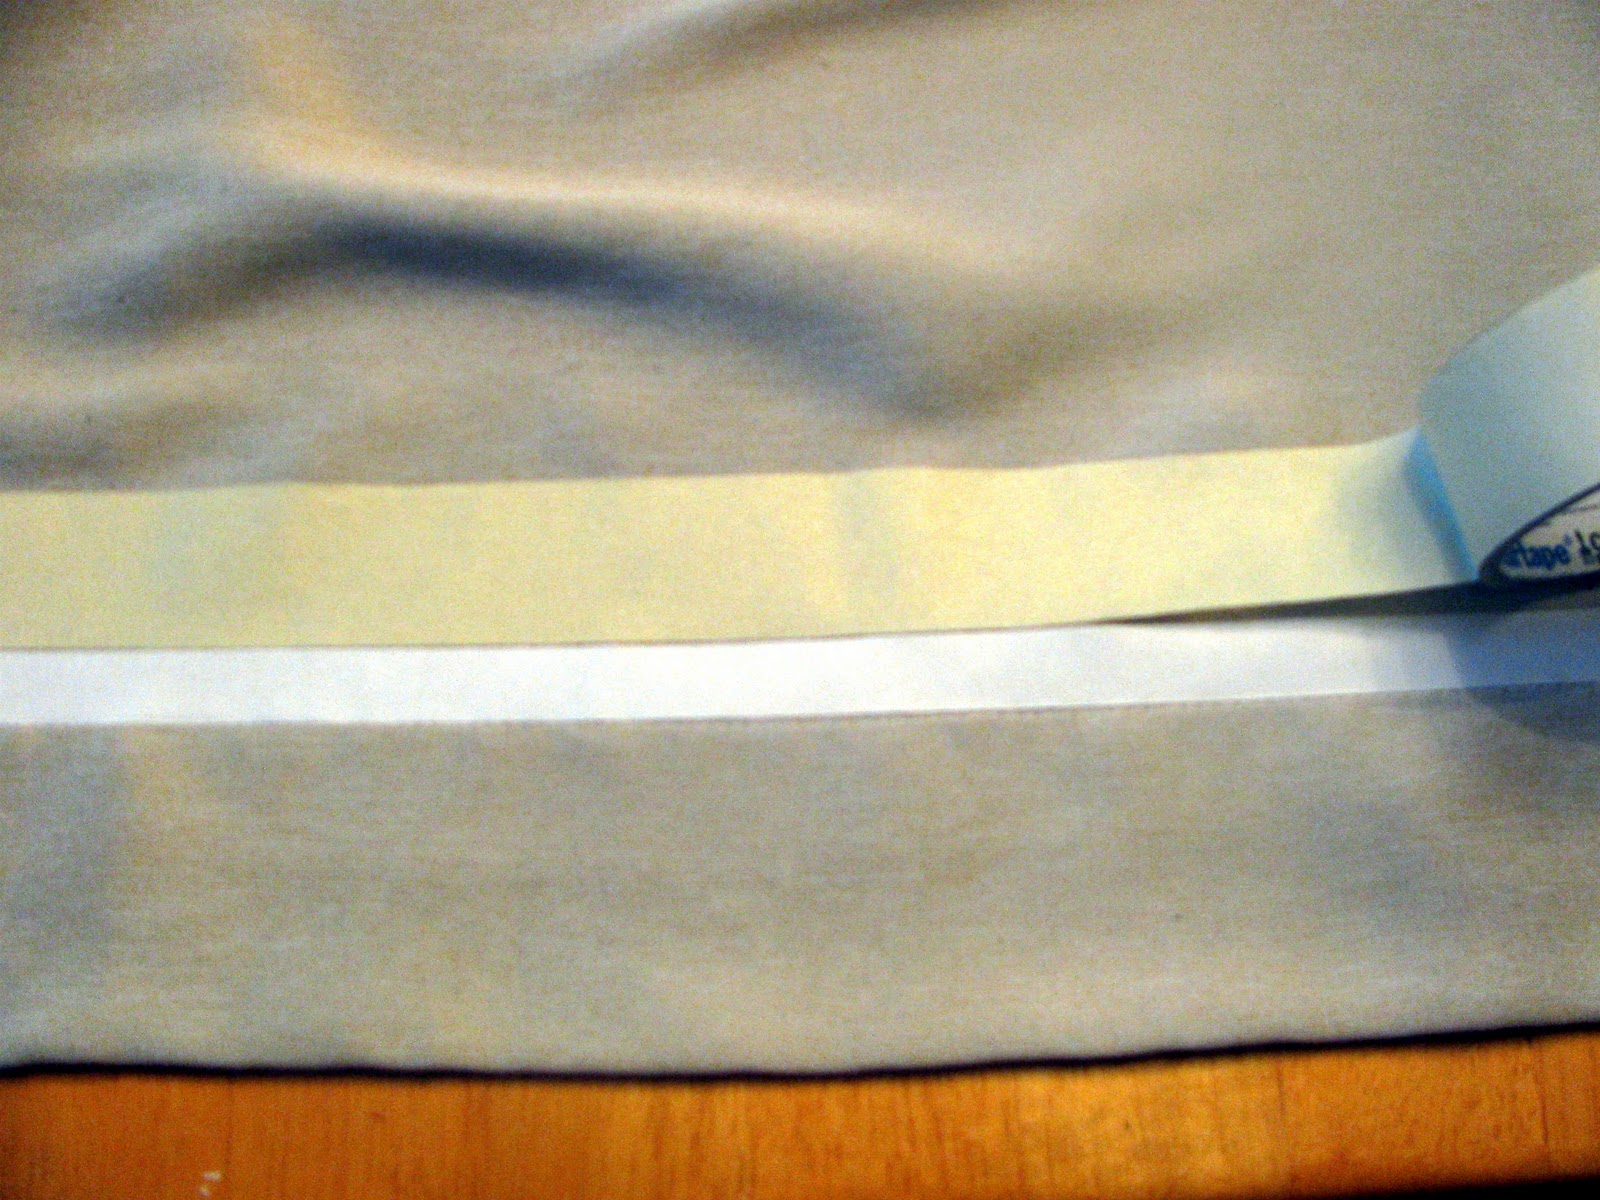
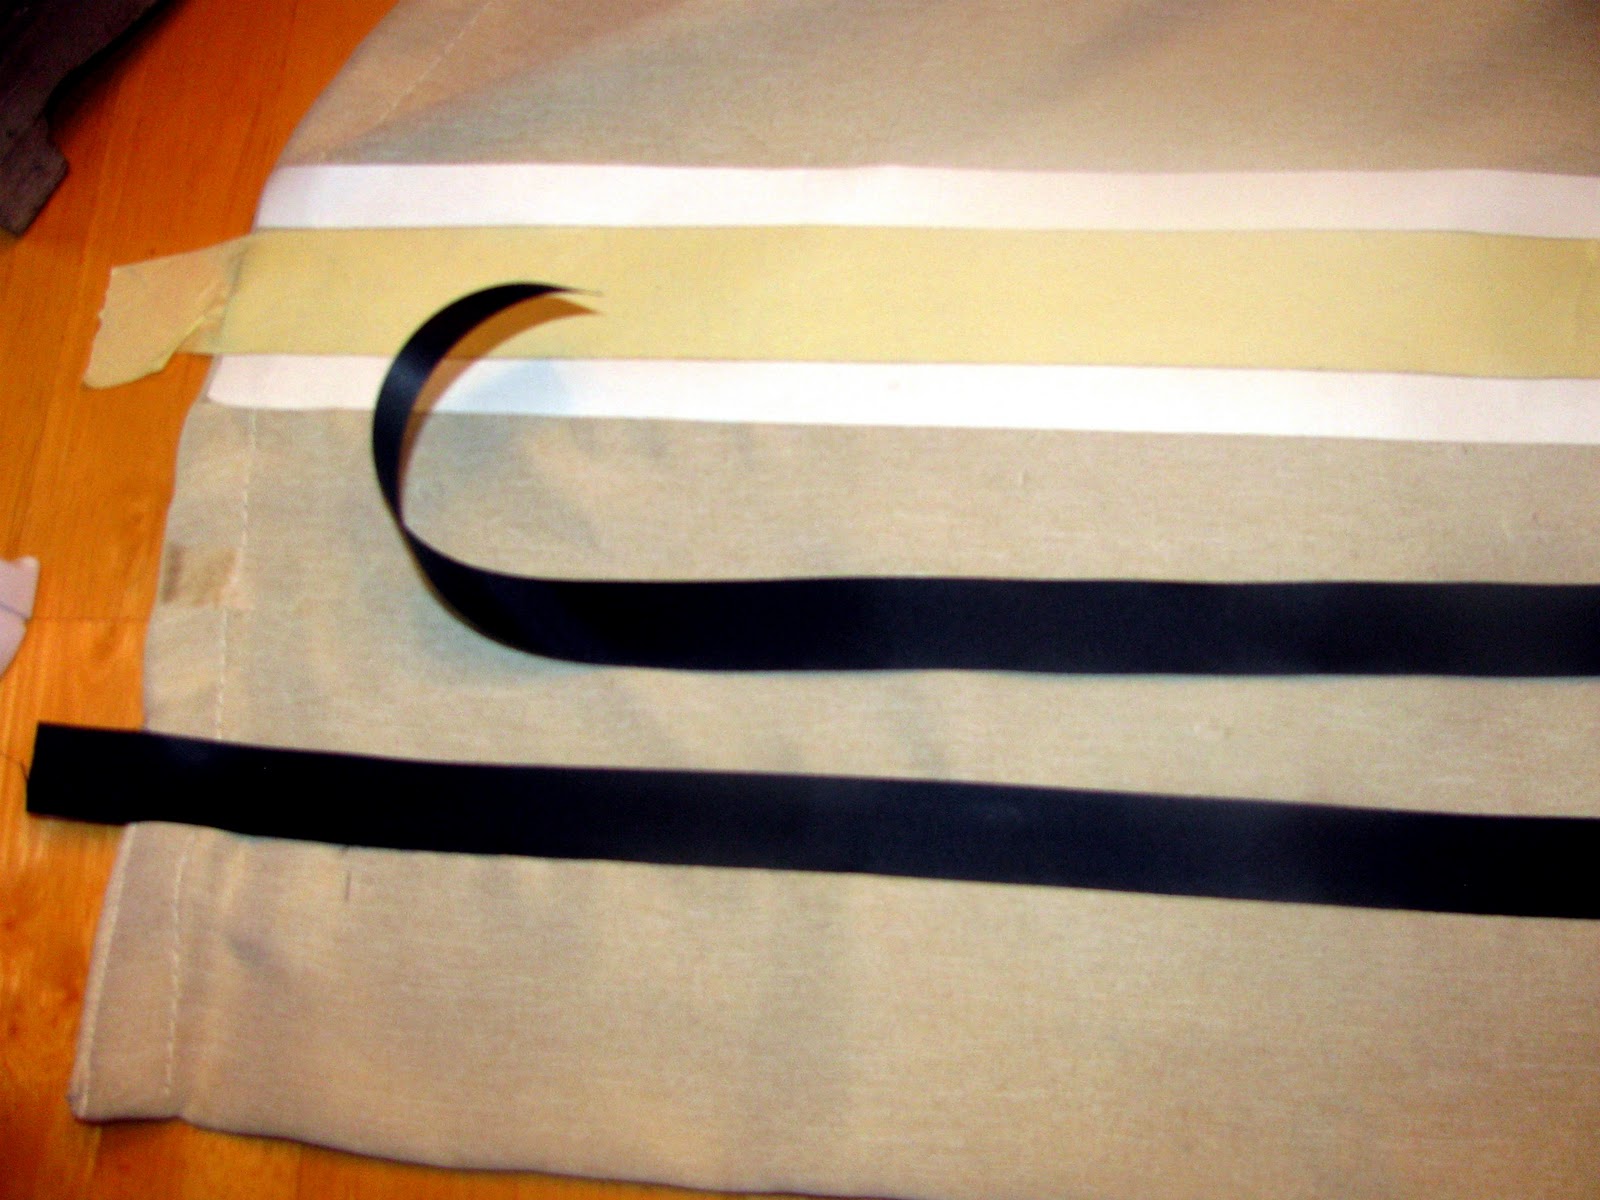
Now, lay another strip of no-sew tape above the masking tape and carefully iron it down (try not to run the iron directly over the masking tape). Next, pull up the masking tape. Use the same piece (it should still be sticky) and place it above the second strip of no-sew tape. Give the first two strips a quick ironing once the masking tape is out of the way to make sure they are attached securely. From there, the third strip of no-sew can be ironed down above the tape.
Once the tape is removed and placed above the third strip of no-sew, the final stripe can be ironed down (Jeannie chose four stripes using 1″ black satiny ribbon). The possibilities are endless – quantities of stripes, ribbon color and size of ribbon. You can customize your colors and quantities as you wish.
Here comes the fun part! Concentrate on one stripe at a time. Pull the paper backing from the no-sew tape and lay the ribbon over the translucent tape residue. It is really easy to eyeball whether or not it is straight. Just run the iron along the strip of ribbon while concentrating on a few inches at a time. Continue with all four ribbon stripes (or how ever many you choose).
 |
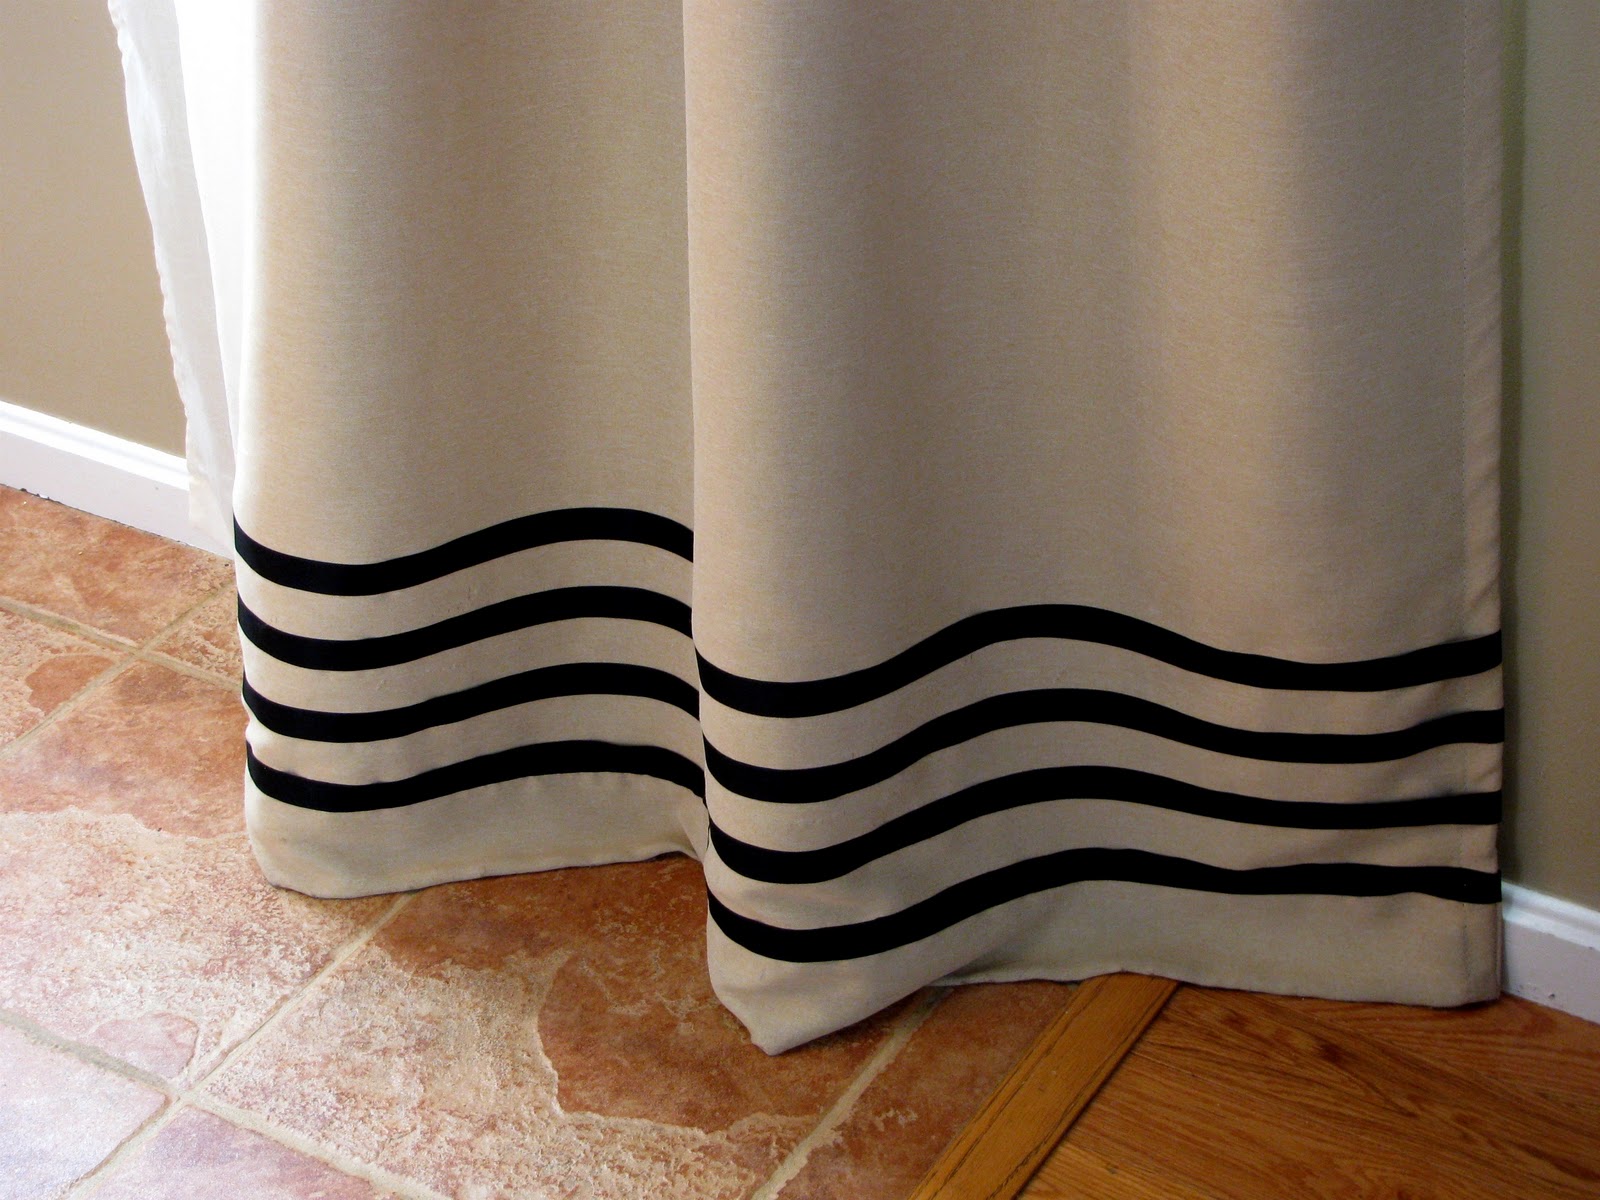
| I left a 1″ overhang of ribbon on each side of the curtain. When all of the stripes on the front are ironed down and secure, flip the panel over and use a small tab of no-sew on the back to give it a nice finished look. |
Jeannie ins in about an hour!

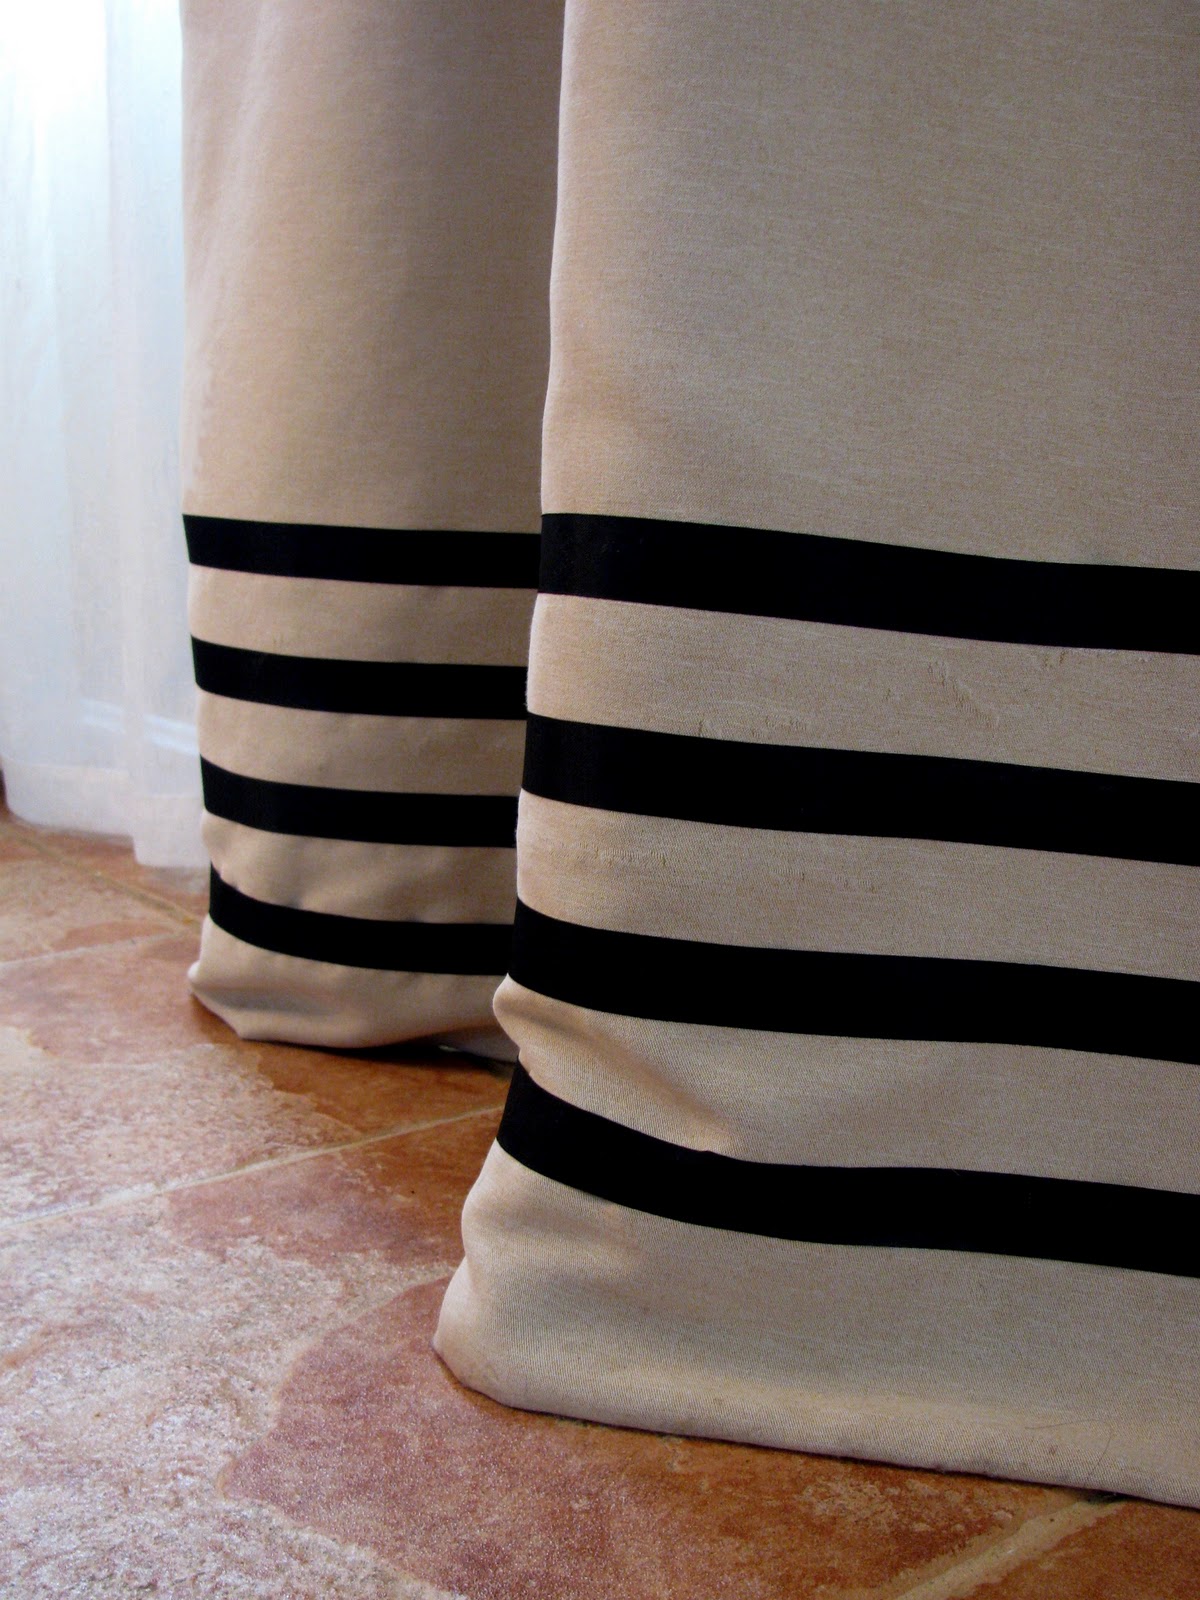
These panels are no longer sold at Ballard Designs, so all the more reason to DIY!
Jeannie, thank you so much for sharing your super easy tutorial. The curtains look awesome! What a great idea to create some interest and pattern on otherwise plain panels. I love it!
See more from Jeannie at MAXWELL HOUSE INTERIORS.
Love the look! Great idea to use the masking tape as a spacer! I’m planning on doing something similar to my drop cloth curtains when I redo my living room.
Those look fantastic and she did such a great job recreating the look for less! Thanks for sharing this with us Roeshel! 🙂
Vanessa
I’m all for this type of decorating. I love how you spiffed up these curtains. BEYOND COOL!:0)
This is one of the coolest projects I have seen in a while! Oooo, I can’t wait to think of some place to try this. Thanks for sharing!
Beautiful! Great idea of using tape as a straight edge. Great tutorial.
Love these! And I especially love the tip about using masking tape for spacing.
Great project! What kind of curtain panel was used?
Hi Katie! Click over to the original post at Maxwell House Interiors for more details! She gives a more thorough description there. Thanks so much for stopping by!
They look beautiful!