


We have this little step stool that we use to reach higher cupboards in the kitchen or quickly sit to put shoes on. It’s sort of boring…

Always looking for a way to spruce things up and a fun DIY project, I decided to give it a little makeover. I love the MiniCards at Moo.com. You can personalize a template or upload a complete design for both sides – so many cool uses. I think creating personalized gift tags would be cool too but I couldn’t resist this cute ready made design:
Aspa Gika

First, using my Dremel Multi-Max, I sanded the entire stool. This tool is awesome. If your projects involve a lot of sanding – this thing reaches where a palm sander can’t. See how it gets in the cut out on the top and in the corners? Love it!


Next, using X-O Rust spray paint in flat black (available at True Value), I gave the entire stool 2 coats. This is a Paint + Primer and the coverage was awesome! I’m sold. No clog. Even spray. I sprayed the bottom and sides first and once that was dried, flipped and sprayed the topside and where needed on the sides.

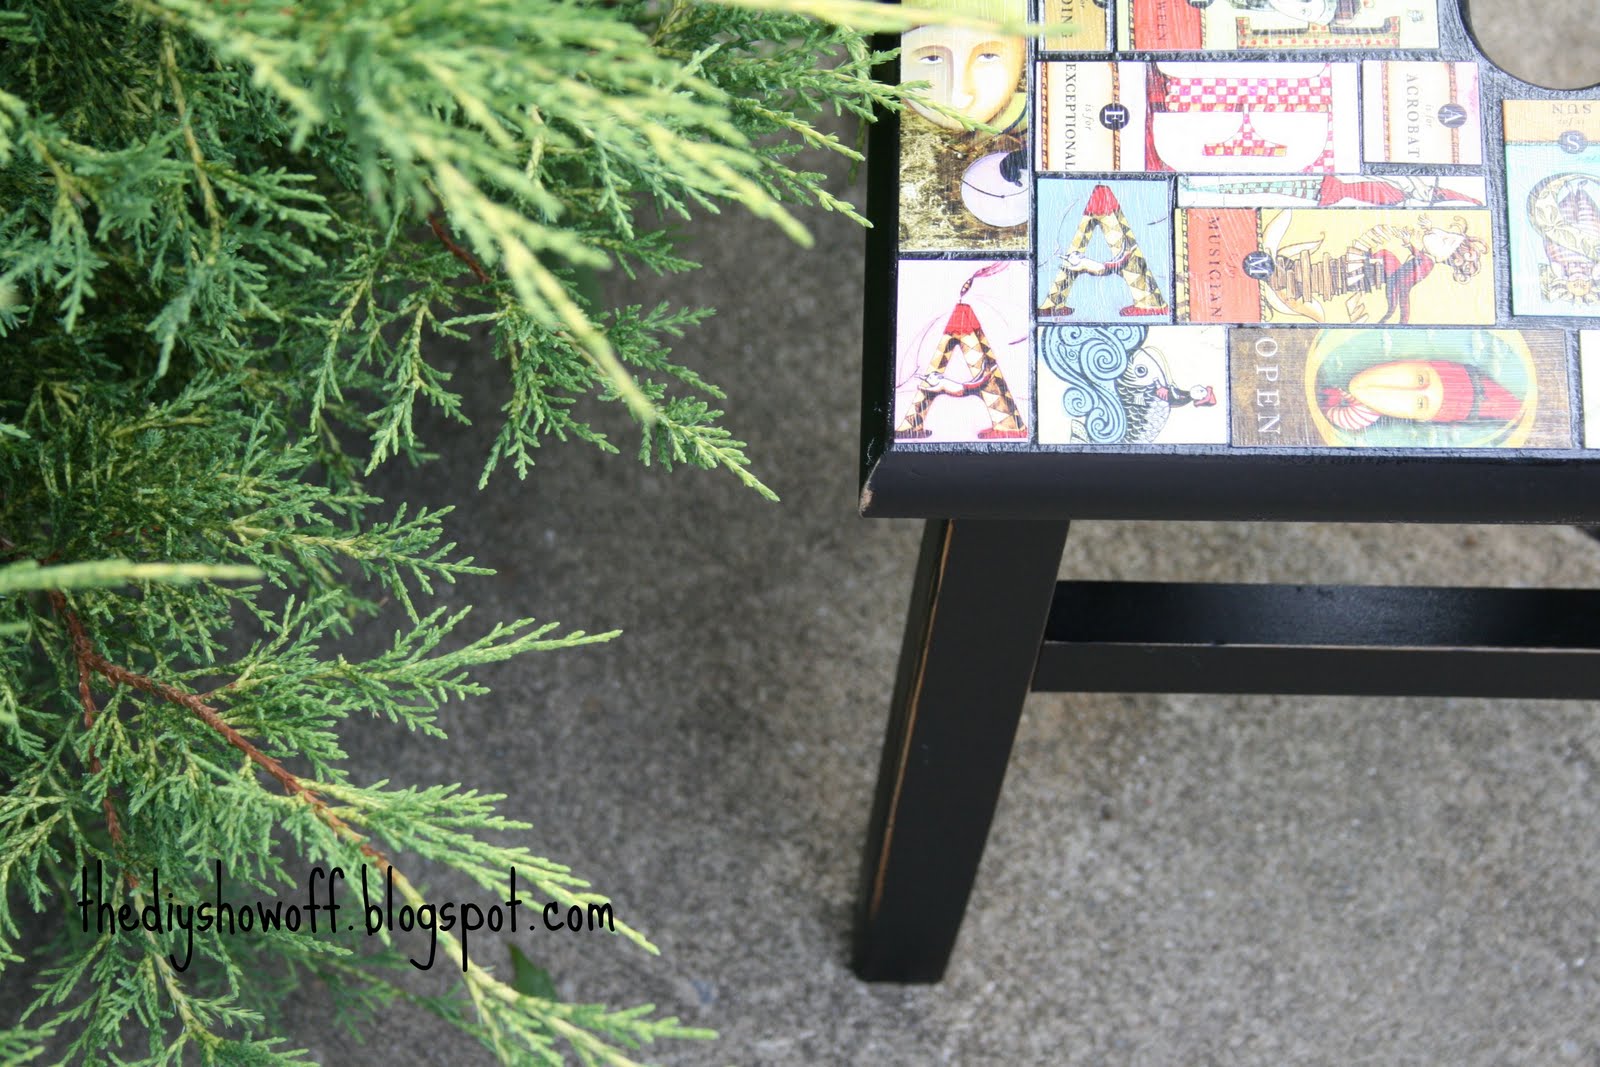
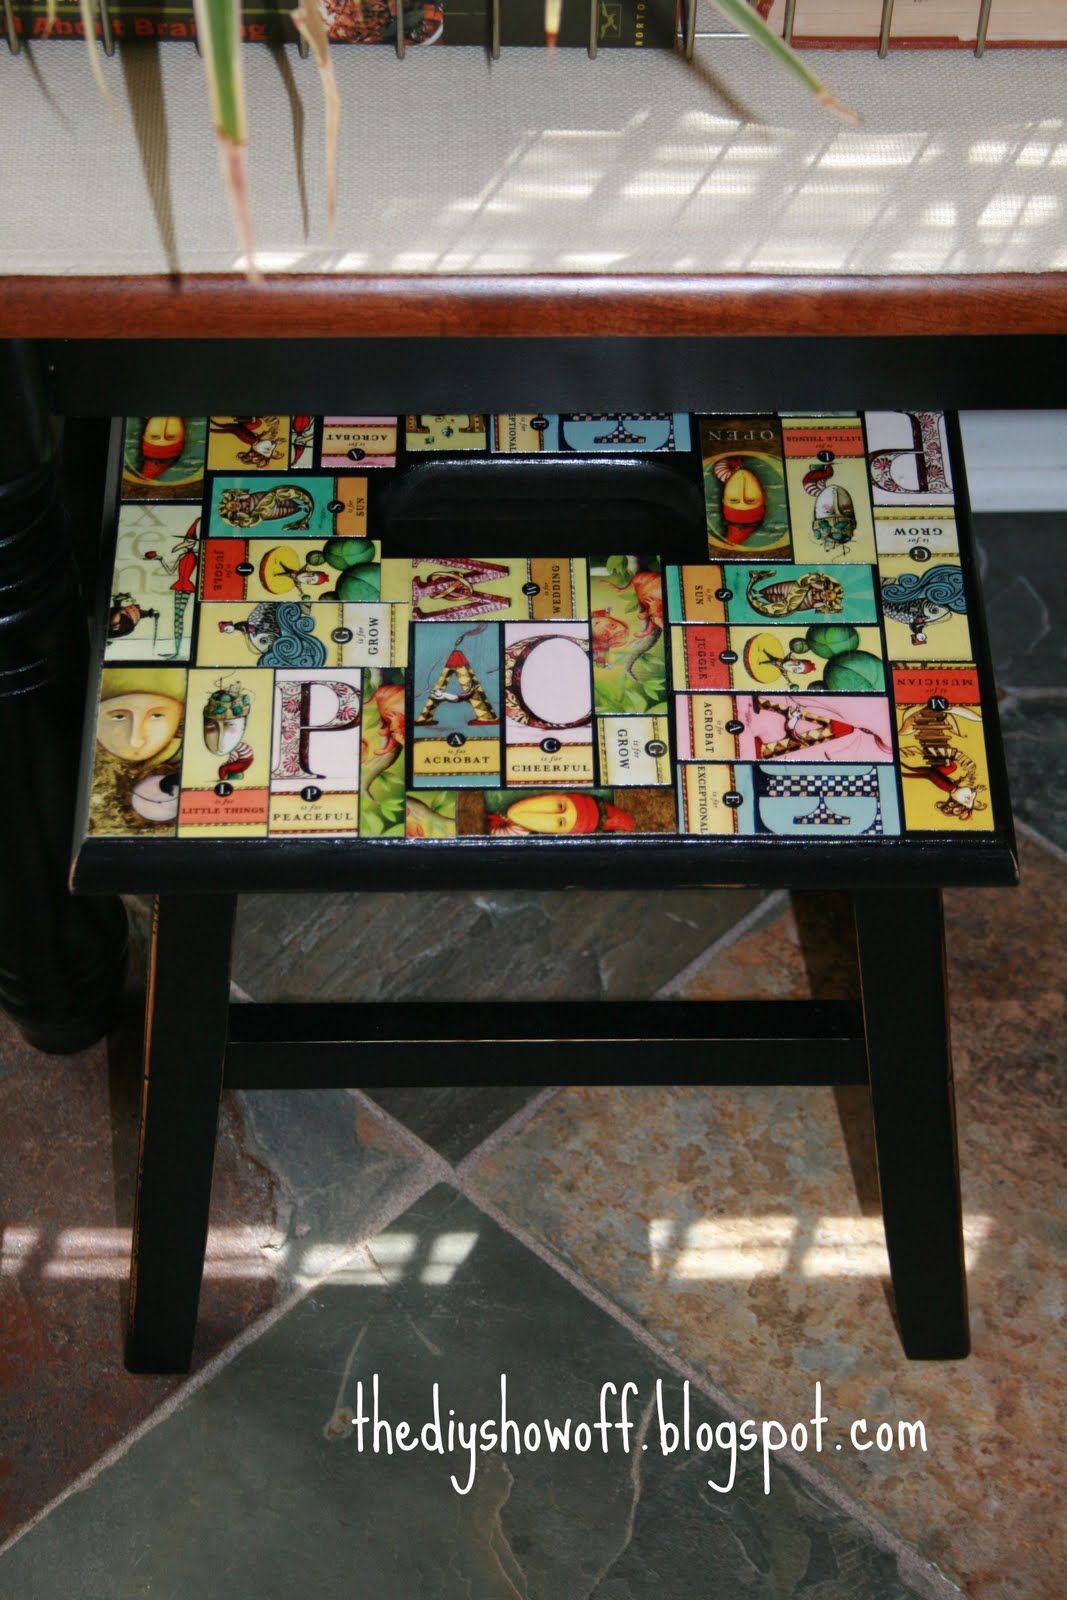
Now the fun Moo part! I first laid my Moo MiniCards in a pattern on the top. I had to trim some of them, shorten others to make it work. Then I moved the template (exactly as laid out on the stool top) onto the table.

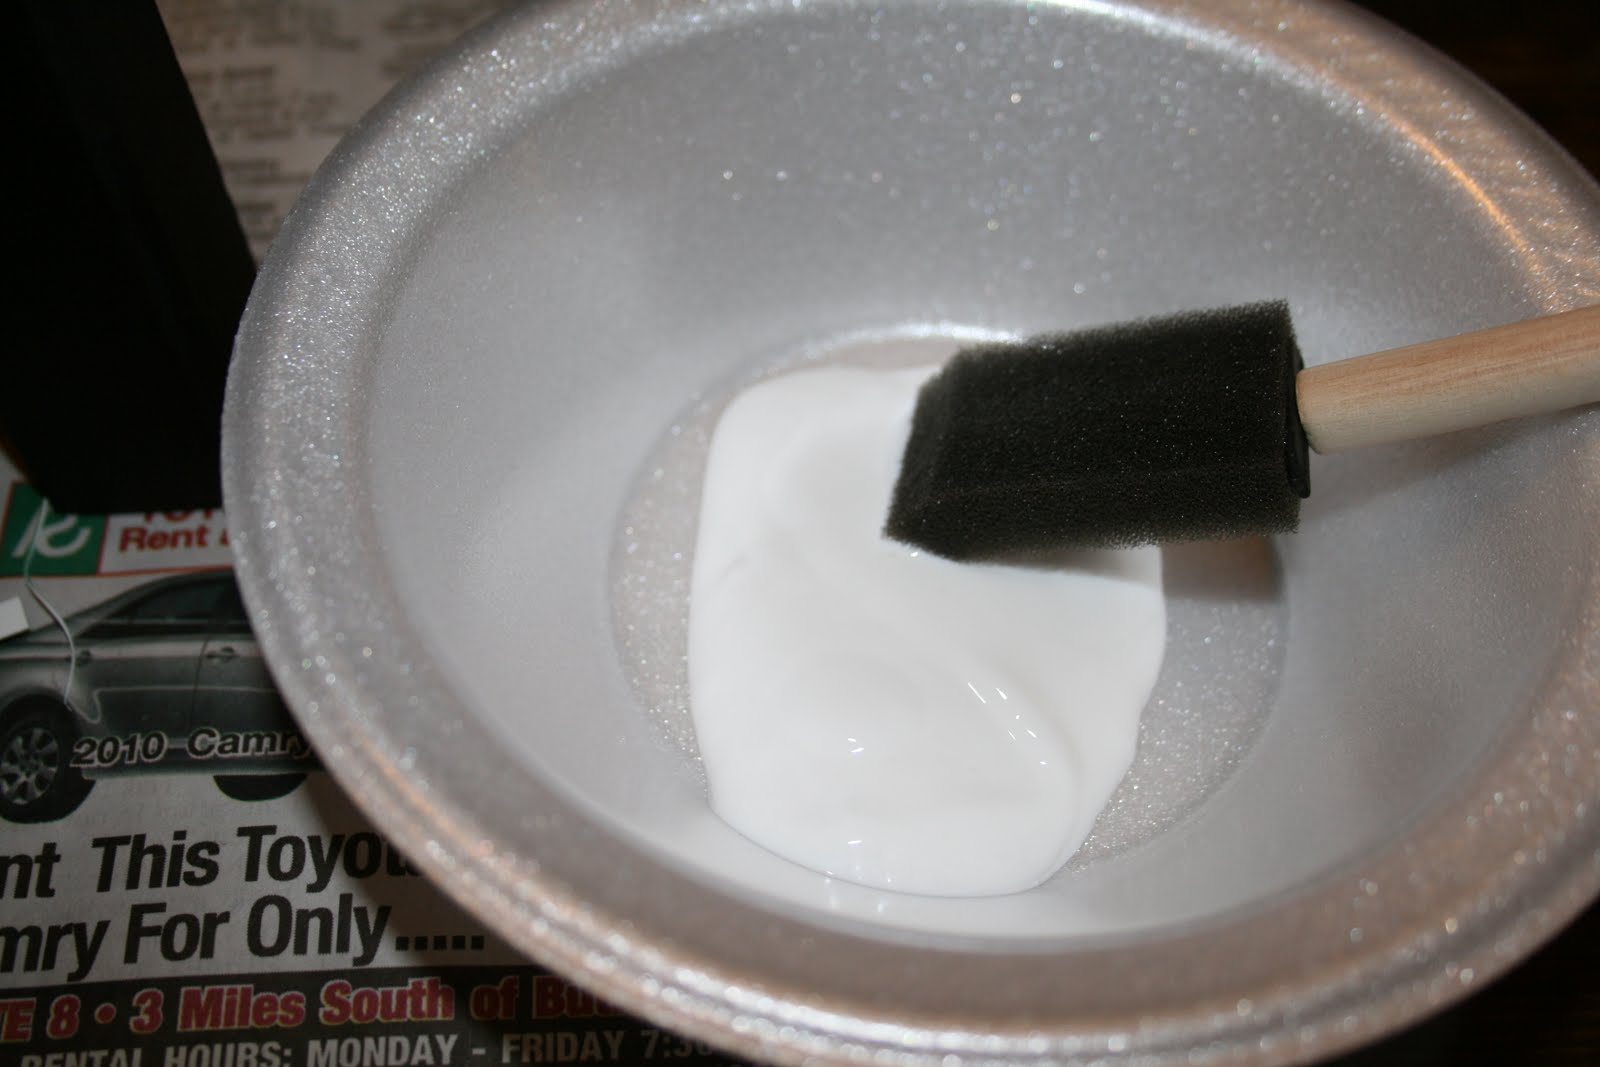
Working in sections on the top, I applied a decoupage medium using a Rockler foam brush:
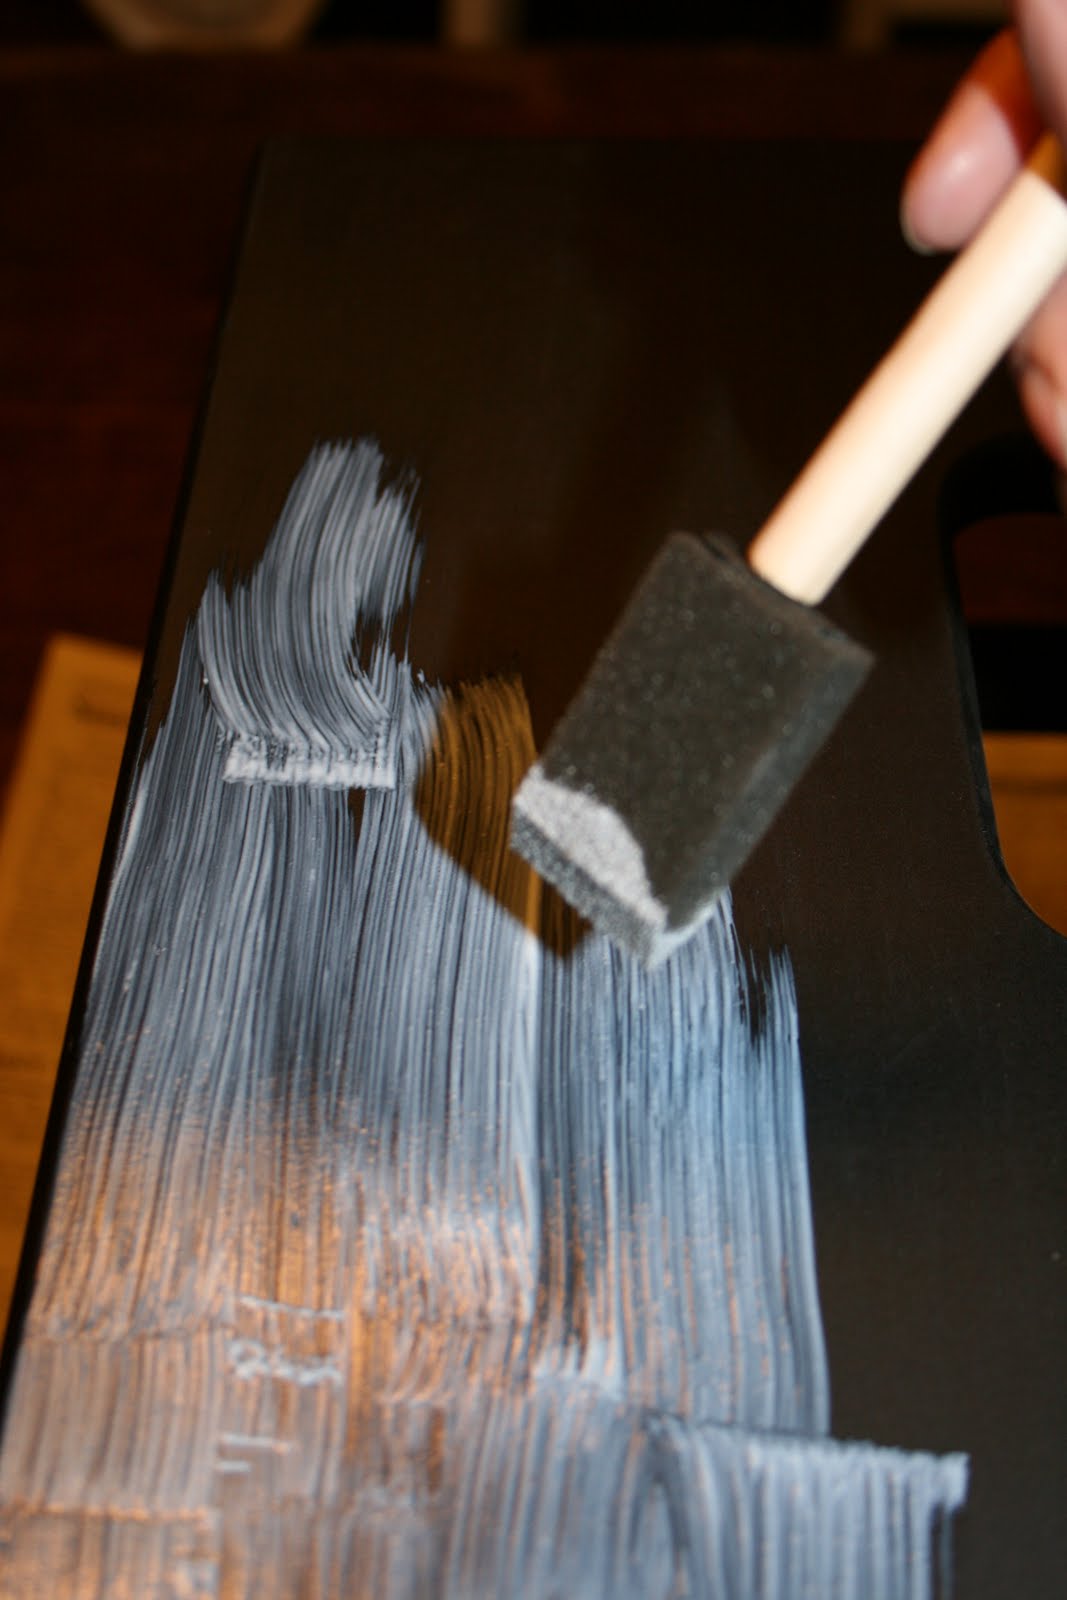
Beginning in a corner, I began applying the Moo MiniCards, pressing down with my finger/nail until secure in the decoupage glue. Continue. The MiniCards easily slide around into place, allowing for adjusting as you go.


Once all of the cards were in place and the top was covered, I let it dry for about an hour.

Then I covered the entire top and all of the MiniCards with a coat of decoupage glue, let dry for 1-2 hours and repeated with another coat and let that one dry over night.

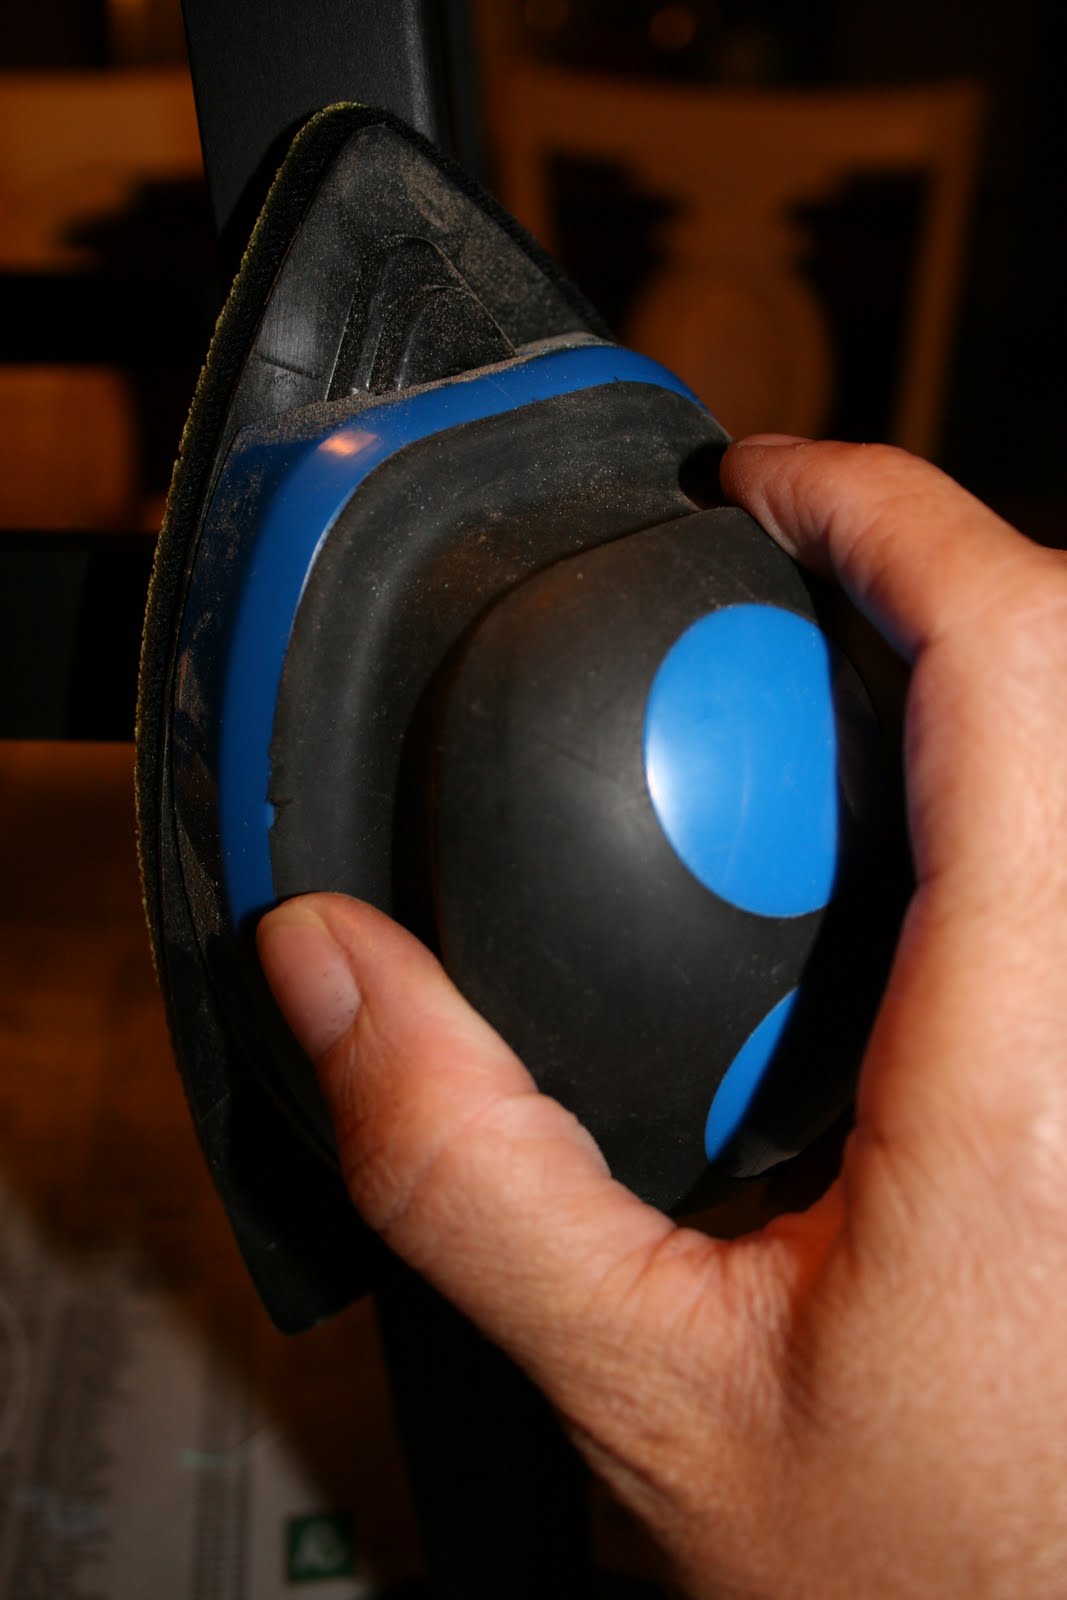
I wanted it to be a little distressed, so using my Norton Sanding Bug, I sanded the edges of the legs and around the top:
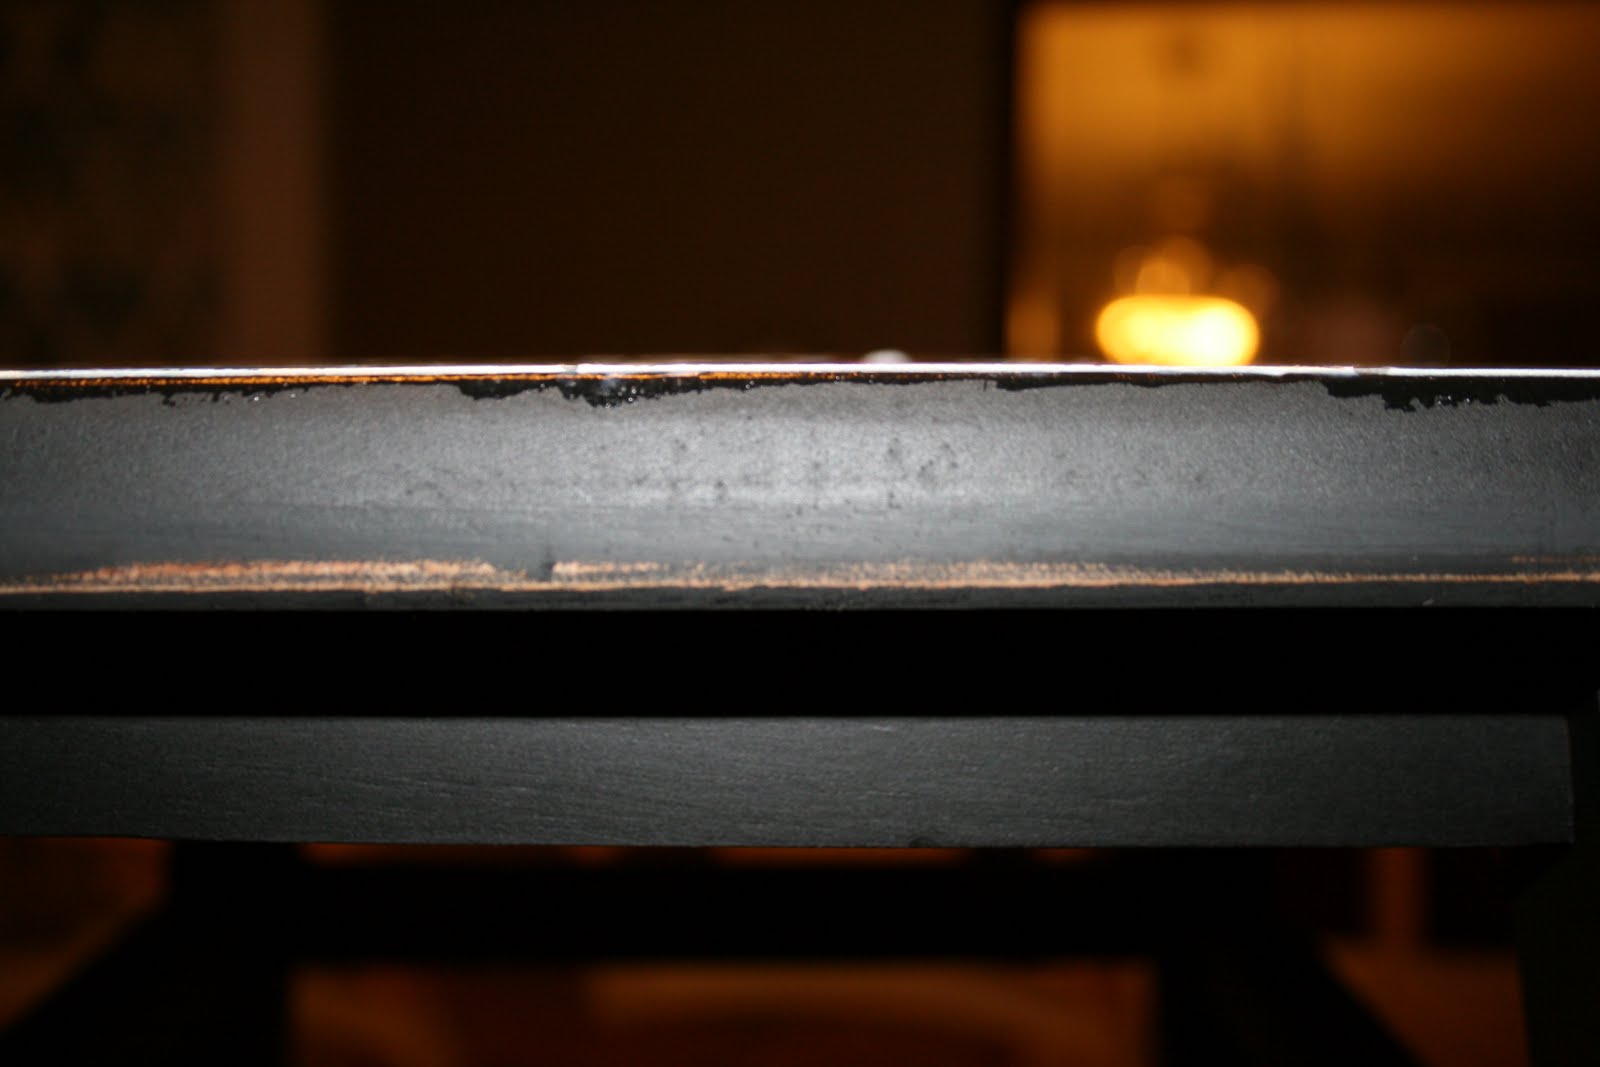
Wipe down. Using Deft Clear Wood Finish in High Gloss, I gave it thorough spray on the bottom first, let dry, then the top and sides to help protect and seal everything:

All done and we love it – Boring No More! A little character now. See the Deft High Gloss sheen? It’s really not so glossy, but just perfect.

Here it is. This would be a fun project for ‘saving’ ruined tabletops/etc. too. Or for decorating furniture for a nursery or playroom. What do you think? Moo + stool = milking cows? We have a farmhouse but the barn is empty!


Have an idea for a project (you’d qualify to enter the DIY Club Inc. contest too!) Use your own images/designs (just upload) or choose from the huge selection of ready made.


*~*~*~*~*~*~*~*~*~*~*~*~*~*~*~*~*~*~*~
I was one of the bloggers selected by True Value to work on the DIY Squad. I have been compensated for my time commitment to the program as well as my writing about my experience. I have also been compensated for the materials needed for my DIY project. However, my opinions are entirely my own and I have not been paid to publish positive comments.
Oh! I love it! I have a little step stool in the bathroom for the kiddos and it could use some more personality. I might just have to try this! Also, I think I have the same slate in my house! Do you like yours? Thanks for all the great inspiration!
Vanessa
http://southerninmyheart.blogspot.com
What a great idea! That is soooo cute! I had an old stool I took out to the garage cuz I couldn't stand to look at it anymore! I think I will dig it out~ Diana
What an adorable stool. Love it! Love & blessings from NC!
That's funny. I have the same stool and it's looking pretty sad. Thanks for the inspiration. I love it. Grams
that stool is so cute!
Nice, I love this, Roeshel!!! So clever:) Did you use Modge Podge? That stuff rocks!
I love the mosaic look. Tres chic!
Oh, that turned out so amazing. I love it . What a great idea to add color and interest to a stool.
Too too CUTE! I love this! I am painting 2 tables today – one grey one green, and only one will be used as a table again. Paint is drying…then I can distress! That's always the fun part 🙂
Too too CUTE! I love this! I am painting 2 tables today – one grey one green, and only one will be used as a table again. Paint is drying…then I can distress! That's always the fun part 🙂
Darling! I picked up a small stool just like this at Goodwill a while ago and have been pondering what to do with it. I love your decoupage idea. Very cute!
Absolutely LOVE that idea!! I have an old table top in the garage that could use an idea like this 🙂
Perfect! I love it. What a great look the cards provided. I have a tray with a crack in the middle. I have been looking for the perfect scrapbook paper – couldn't find it. I think I'll have to try cards. I knew I would decoupage – just got stuck on "decoupage what?". Thanks for the inspiration!
Awesome! Love the mini cards!
Thanks Ladies! Sarah – yes, I used Mod Podge. Love that stuff too and I need a new bottle! 🙂
Hope everyone enjoyed the long weekend!
Roeshel
I love this! I see a million of these at Goodwill, but never think to snatch it up. Thanks for the inspiration 🙂
what a cute idea! I love it! thanks for the post! Love, Joy
Those cards are so cute! That's a great makeover!!
xoxo, cassie
Those cards are so cute! That's a great makeover!!
xoxo, cassie
Such a great idea, Roe! Now you've got me thinking of things I can decoupage with mini moos!
Roeshel, I have that same stool in my bedroom. I was going to paint it during my bedroom makeover, but I got so tired of painting, I never got around to it! 🙂
I love how yours turned out. You did a great job!
gail
Great job. I did something similar years ago w/ an old end table and Monopoly money. Never took pictures. 🙁
I LOVE the design of cards you choose and this is genius. What a fab step stool…I see another knock off in my future.
I made one of these about 15 years ago. I am a piano teacher and I covered it with old yellowed music that I tore into pieces. It has stood up to everything, even wet shoes. Very cute.
So cute, love the idea!