Saltbox Treasures – DIY Projects

Julie from Saltbox Treasures has a lot of DIY ideas and projects going on.  Check out her creativity! I love having her tutorials in the archives for reference – I haven’t covered a chair seat pad yet but it’s on my DIY list.

DIY: How to reupholster a chair seat pad . . . easy!

I want to show you how to reupholster a chair seat pad because it is so easy. Anyone can do this, and what a change it can make ~ A great way to customize any chair!

1. Remove the chair seat from the chair and remove the old fabric (usually it is too old, stained, or yucky to use). If it’s in good shape and it doesn’t show thru your new fabric you can cover over it.

 [I had two old covers to remove :)]

 2. Cut your new fabric at least 2-3″ wider than the chair seat on each side, depending on how deep it is. You will need to be able to staple it all around the edges on the back side.

3. Center your chair seat with padding side down on the wrong side of the fabric
(if your chair padding is in bad shape you can also use batting to add more cushion and staple it along with your new fabric).

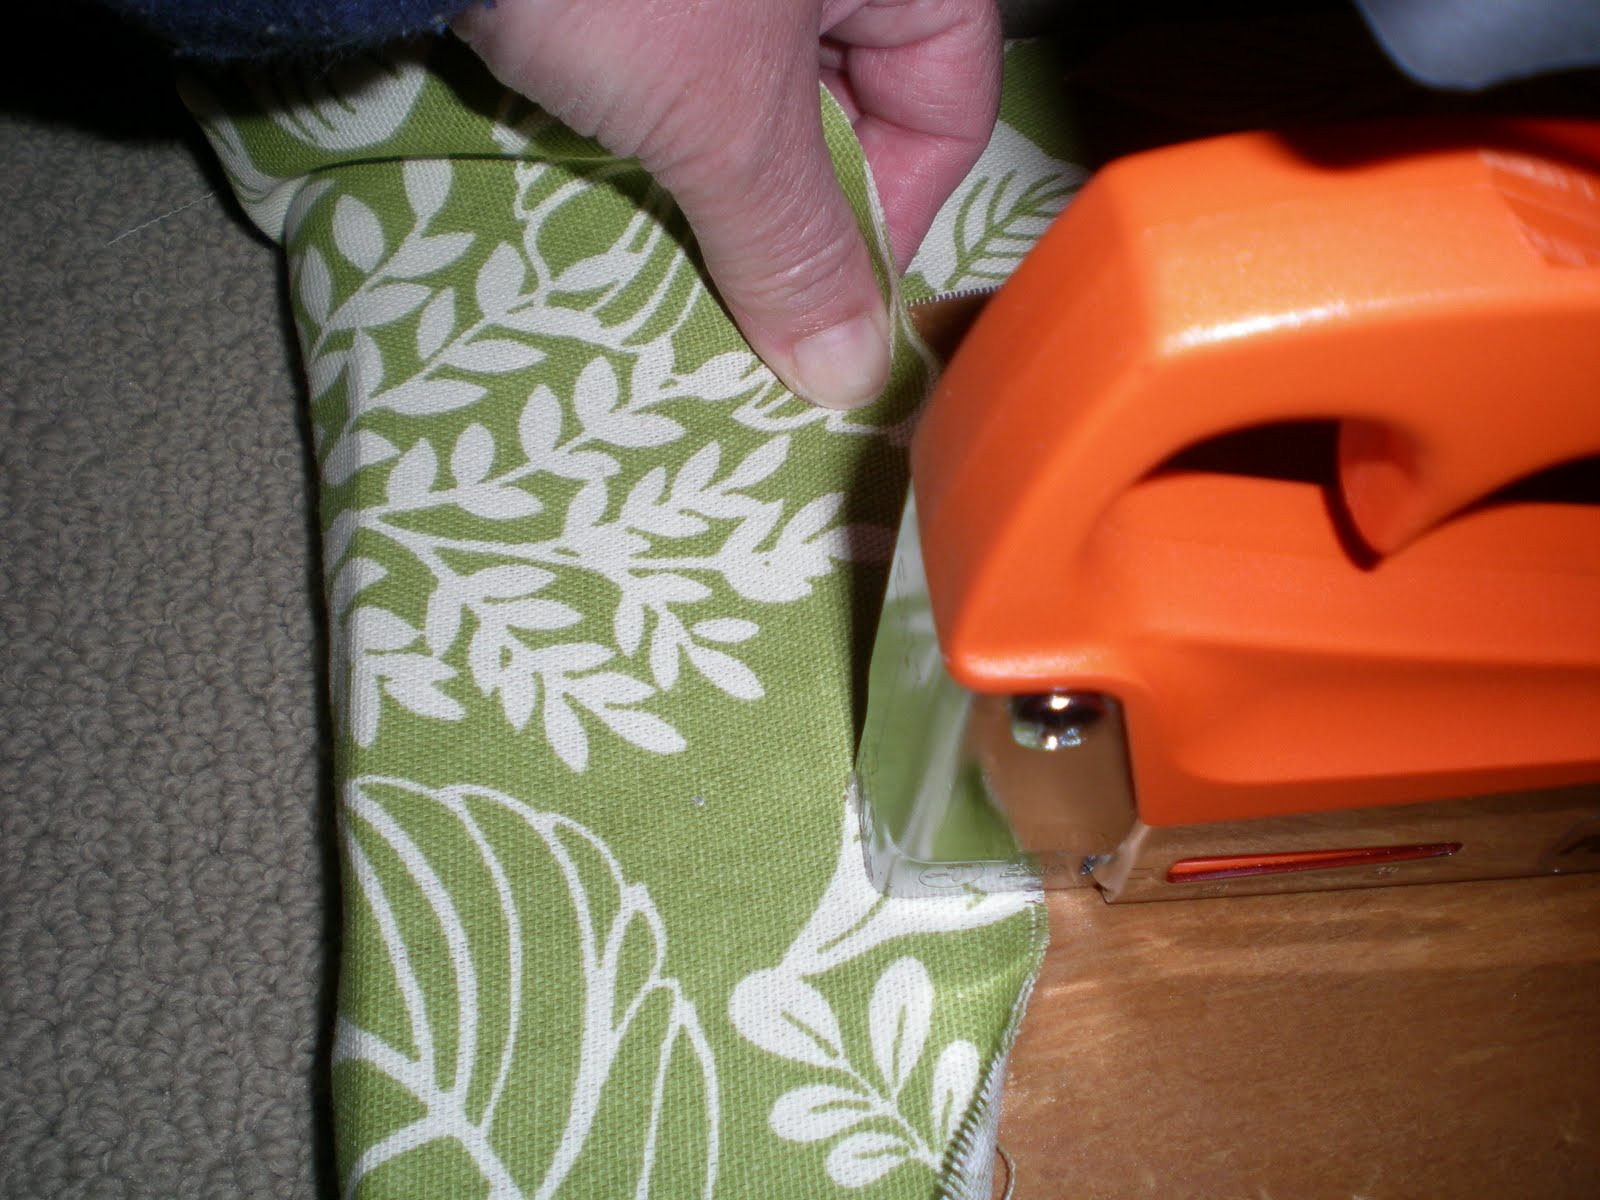
4. Using a staple gun with 1/2″ staples, staple the first staple on the front edge side. Put the next staple on the back side of the chair seat, pulling the fabric tight so it is not loose on the fabric side. Flip your chair seat over and check to see if your fabric pattern is where you want it on the seat and it’s straight.

5. Staple about 5 staples along the front side of the seat and then the back side of the seat about 2″ apart; making sure to pull fabric tight as you staple, to keep the fabric in place.

6. Now move to the sides of the chair seat and staple one staple on each side, pulling fabric tight.


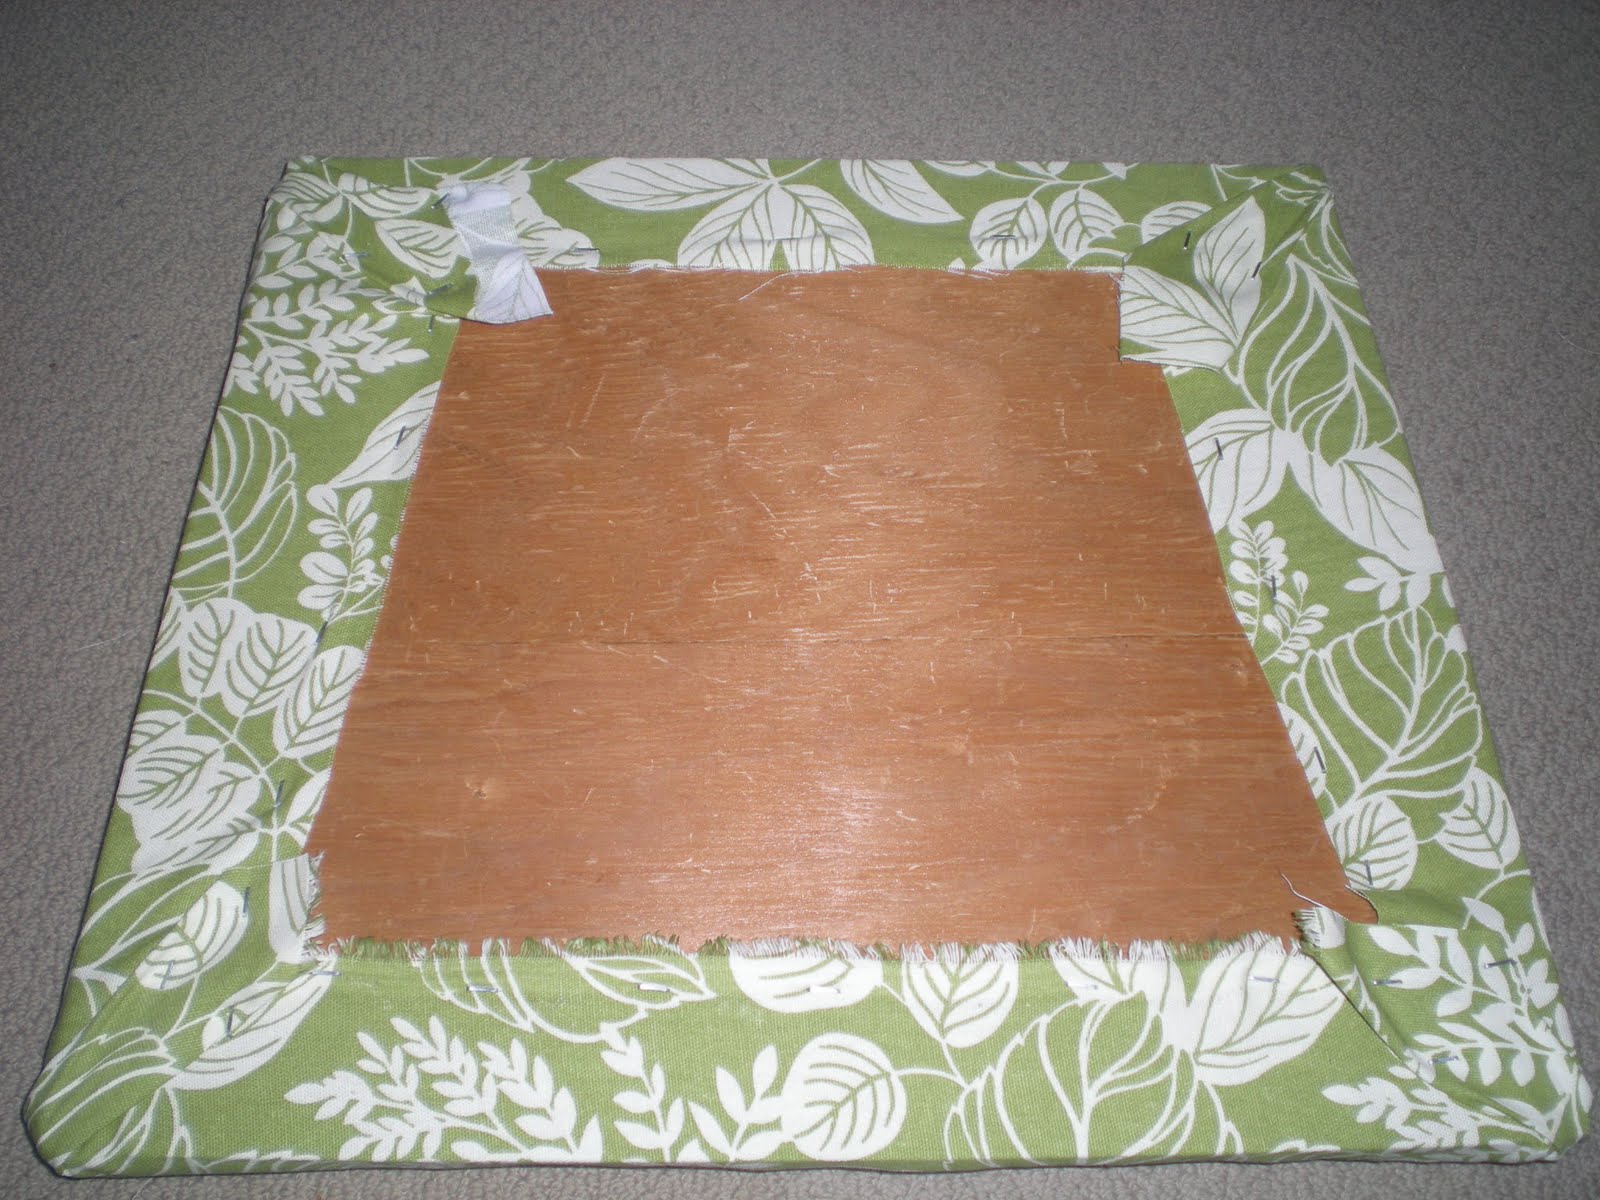
7. Continue stapling all sides to within about 1″ of each corner.

8. To staple the corners, tuck in each side and staple if necessary and then pull the corner toward the center and staple, making sure the front and side edge is not puckered and looks the way you want it.

9. Flip it over; reattach it to the chair and VOILA! YOU’RE DONE!!!
Doesn’t it look great?!!!

                             After (above)
 
And Click Here to see her antique table makeover


And how to make a table cover.. HERE (great idea for protecting table from kids!)

Thanks for sharing your DIY projects Julie!  The chair seat is so pretty!  I love your antique table makeover and I think vinyl table cover is a great idea – I have had marker stains on my dining room table before and then it advanced to nail polish so I wish I had seen this earlier!  🙂
Julie’s home is beautifully decorated too!
Pop over and check it out – Saltbox Treasures
~*~*~*~
This post is brought to you by 
Look no further than polywood patio furniture to fulfill your need for durability, style, & environmental sustainability.

2 thoughts on “Saltbox Treasures – DIY Projects

click to read what friends are saying...


Leave a Reply

Your email address will not be published. Required fields are marked *

This site uses Akismet to reduce spam. Learn how your comment data is processed.