


 Submitted by Roeshel from Evangeline’s Vine (that’s me! lol)
Finally! I can share the transformation of the back of our home! Here is our progress in pictures… Our home when we bought it. 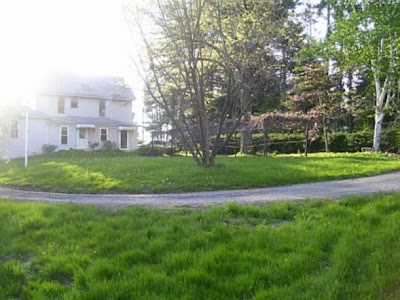
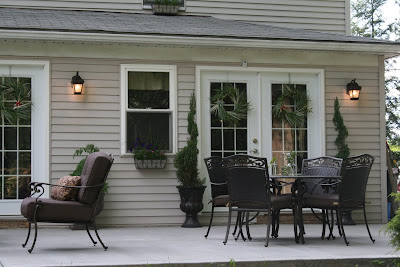
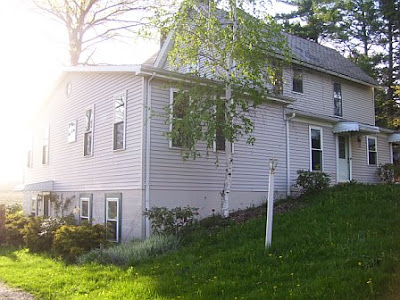 Hard to see from the distance, there were two single doors with awnings. Ugly. But I could see potential which is a good thing most of the time, except that “potential” doesn’t happen over night! Right away, we installed two sets of French doors. I love them! It changes the entire look of the back of our house. However, the old sidewalks didn’t line up and we lived with it for 2 years.
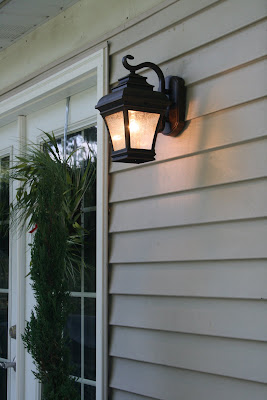
 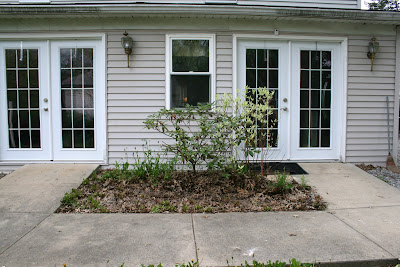 And take a look at the old light fixtures. Yuck!
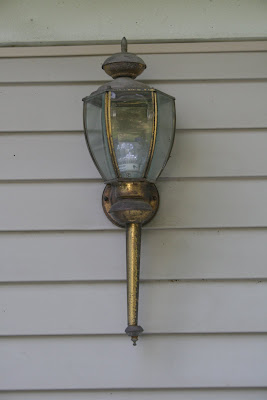 So…this spring, we decided to put in a concrete patio. However – the concrete part wasn’t DIY. It was way too big of an area and required professionals.
See that progress here. We got some new furniture (the table/chairs go under the grape arbor when it’s completed). Mr. DIY changed out the lights for me to give it an updated fresh look.


 Edited to add: Here’s the link to my DIY candle jars! 🙂
http://thediyshowoff.blogspot.com/2009/07/copper-penny-jar-candles.html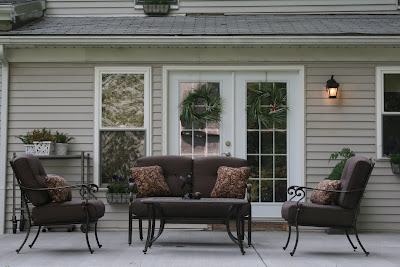
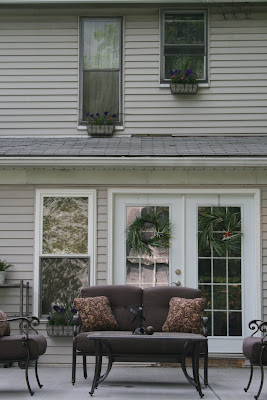
We also hung window boxes to help disguise the upstairs windows which need replaced (another project for another time) and pull the main level and upper level together.Now:

 You can’t see the window boxes well in the pictures…but here is what they looked like before they were hung:
 Okay – I’m getting a little camera-happy…but I just can’t believe the change in the back of our home. This is where everyone enters our house, so no more being embarrassed or giving “please watch your step” reminders!

 Hard to see from the distance, there were two single doors with awnings. Ugly. But I could see potential which is a good thing most of the time, except that “potential” doesn’t happen over night! Right away, we installed two sets of French doors. I love them! It changes the entire look of the back of our house. However, the old sidewalks didn’t line up and we lived with it for 2 years.
  And take a look at the old light fixtures. Yuck!
 So…this spring, we decided to put in a concrete patio. However – the concrete part wasn’t DIY. It was way too big of an area and required professionals.
See that progress here. We got some new furniture (the table/chairs go under the grape arbor when it’s completed). Mr. DIY changed out the lights for me to give it an updated fresh look.


 Edited to add: Here’s the link to my DIY candle jars! 🙂
 http://thediyshowoff.blogspot.com/2009/07/copper-penny-jar-candles.html

We also hung window boxes to help disguise the upstairs windows which need replaced (another project for another time) and pull the main level and upper level together.
Again – before:
Now: 
 You can’t see the window boxes well in the pictures…but here is what they looked like before they were hung:
 Okay – I’m getting a little camera-happy…but I just can’t believe the change in the back of our home. This is where everyone enters our house, so no more being embarrassed or giving “please watch your step” reminders!

 All that’s left to do is fix the siding below were the old concrete ramp/sidewalk met the old single doors and plant grass!
What do you think? We are SO happy it’s just about done. It’s going to be a great area for entertaining! Being The DIY Show Off Feature is so much fun – it feels so good to show the world our hard work, doesn’t it?
(Still working on the covered/barn patio and grape arbor – almost done! Then we can ENJOY summer, right?)


